My 5 tips for getting a perfect broom finish concrete patio
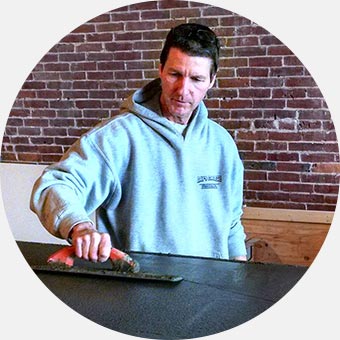
Hi, my name is Mike Day and I'm the owner of Day's Concrete Floors, Inc.
I've owned my concrete business since the 1980's. Over the years I've broom finished thousands of square feet of concrete patios, walks, decks, and driveways. Due to this, I feel I have perfected the craft of broom finishing, knowing when to start the finish, and exactly what tools will be needed.
Adding a broom finish to a concrete patio may seem like an easy thing to do, but in reality, it's really quite easy to mess it up.
On this page, I'm going to share my 5 best tips for getting the perfect broom finish concrete patio.
If you trying to achieve that perfect non-slip, professional looking, easy to clean broom finish surface, I've made the video above to show you how we do it on our jobs.
TIP 1. Knowing when to start
This step is probably one of the most important steps to ensuring your broom finished patio comes out looking perfect. If you start too early, you may leave some humps or dips in the concrete, or create a rougher texture than wanted. If you start too late, you may not be able to see your broom finish at all.
If you want to achieve a broom finish that's not too rough or too smooth, you have to start the finishing process at the right time.
How do you know if the concrete is ready?
Well, there's a lot of factors that go into determining the right time to start the process like;
|
|
If I can press my thumb into the concrete about 1/4 inch, this tells me the concrete is about ready to start.
If it goes deeper, it's probably a little early (too wet) and if it goes less, it's getting too firm (Hurry up!!).
check out this video that walks you through when to start finishing concrete
TIP 2. Use an edger tool
I like to use an edger tool on the outside edges of the patio.
A concrete edger is designed to round off the edge of the concrete.
This accomplishes two things:
- It gives the edge a nice finished look
- It strengthens the edge by rounding it instead of leaving it square and sharp (easier to chip off if square).
An edger tool is pretty easy to learn. In the video above, watch my guy press it into the concrete to start, using the board as his guide.
He tips it up slightly and pushes it forward, then tips it the other way to go backwards. Doing small sections at a time.
You'll do this process twice. The first time to pre-cut in the rounded edge, then after brooming to leave a nice clean finished tool mark.
Click here to purchase an edger tool from Amazon. An edger tool not only comes in handy with broom finished concrete patios, but we also use it for pool decks, stamped concrete patios, walkways, etc. It is a tool all concrete workers should have in their toolbox.
TIP 3. Mag float the surface
I like to mag float the surface of the concrete right before I broom it.
Mag floating the concrete will fix any imperfections like filling small holes, removes bull float lines, and smooths any rough areas.
Another thing mag floating does is it gives you a fine, moist cement paste on the surface that leaves a nice looking broom finish.
If you try to broom the surface without mag floating, you'll either have to broom it early (which will give you a rougher finish).
Or, if you wait, the surface will be dry in some areas and moist in others, giving you an inconsistent looking broom finish. (ugly!)
So, take the time to mag float, and get that perfect finish every time.
Click here to purchase a Marshalltown Mag from Amazon. Again, a mag is another tool you will need on every pour and all concrete workers should have in their toolbox.
Check out this video that goes over how to use a mag and other finishing techniques
TIP 4. Straight broom lines
Like in the video, have 1 person running the broom so you have nice straight broom lines.
You want to set the broom down easy so it doesn't leave a divot, then pull it back in one slow, straight, consistent motion.
You don't want stop & start marks, you don't want crooked lines, and you don't want squiggly lines from moving the handle back and forth.
I also like to clean the cement past out of the broom bristles every few passes. Dip it in a pail of water and slide the bristles back and forth across the top of the bucket to remove any excess water.
If the bristles have to much paste in them, they will leave little "cement balls" behind as you pull the broom across the surface. (Again, ugly)
This is the finished look, it has to be perfect!
What type of broom should you use?
We usually use this 36 inch wooden broom for all of our broom finished concrete patios.
Click here to purchase the type of broom we use for broom finishing concrete.
TIP 5. Leave the finished edger tool mark
You previously "cut in" the edger tool mark around the outside perimeter of the patio.
Now, after the surface has a broom finish, it's time to leave the "finished" edger tool mark.
Re-run the edger tool in the same fashion you did earlier. It'll smooth out the broom marks under the edger.
It also cleans up the rounded edge, makes it look professional, and gives the patio a picture frame look.
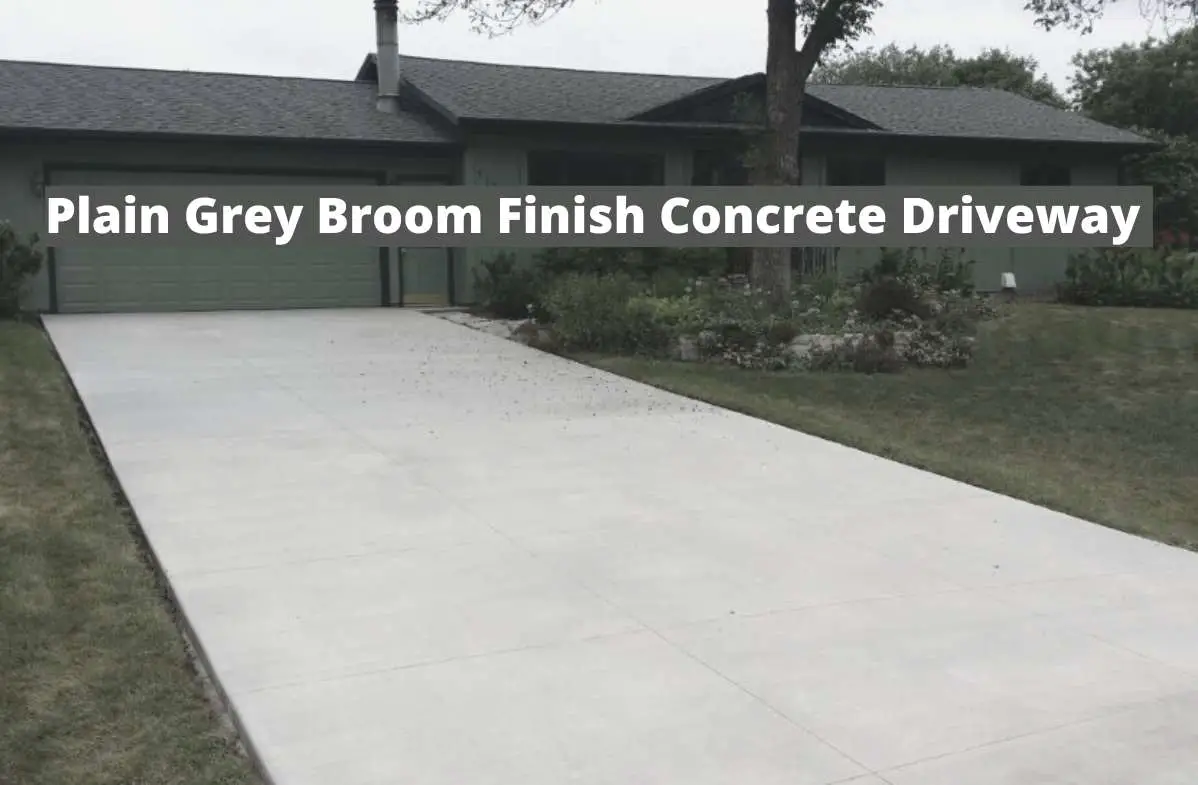
This is a normal type of broom finish we do on a lot of patios, pool decks, sidewalks, and driveways.
Should i seal the broom finished concrete?
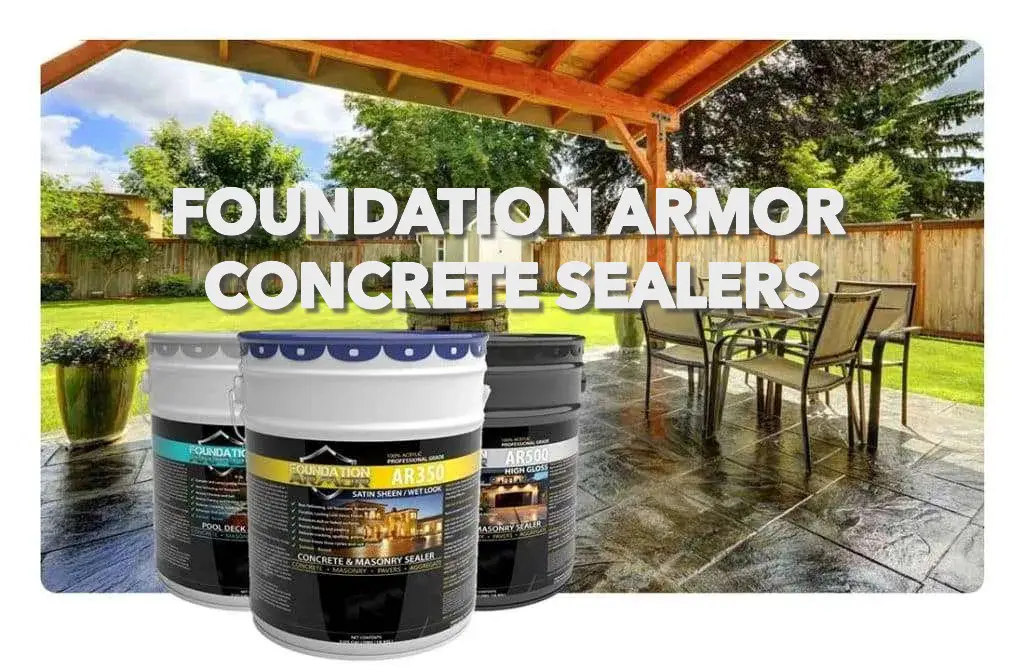
Yes, it is a good idea to seal the broom finished concrete. This is because the sealer will protect the concrete from, road salts, stains, mold, etc. The sealer will also not change the appearance of the concrete. The sealer we use is the Foundation Armor AR50. This is one of my favorite sealers that always gets the job done!
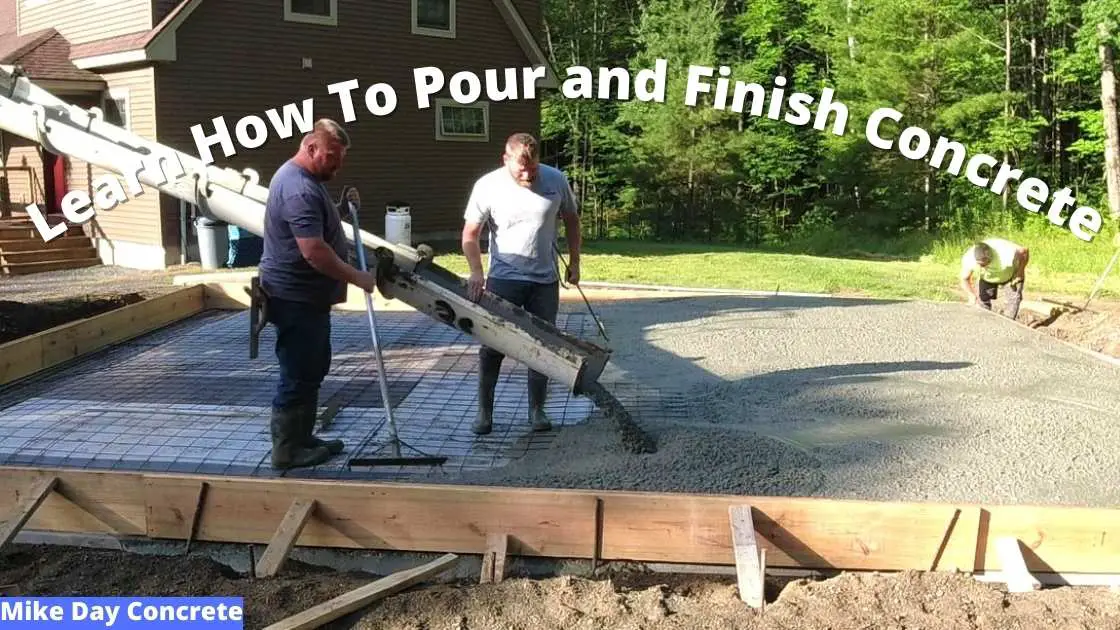
how to pour and finish a concrete patio slab
I will show you what it takes to pour and finish your own concrete patio slab.
You'll learn if doing this on your own is a good idea or if hiring a pro is what you need to do.
how do i fix a bad broom finish?
Click here to learn about how to fix a broom finish gone wrong.
That's it! Those are my 5 tips for getting a perfect broom finish concrete patio.
I hope it helps you achieve the perfect broom finish on your concrete projects.
If you'd like to use some of the same tools as we do, take a look at my recommended tools page.
