How to build a Concrete Slab
Updated: March 7, 2025
Author: Mike Day
A concrete slab is poured right on the ground. It doesn't have a foundation or any concrete walls under it or around it. In Maine we install a lot of slabs-on-grade for houses and garages.
A slab foundation is usually less expensive to install than a full concrete wall foundation with a concrete floor.
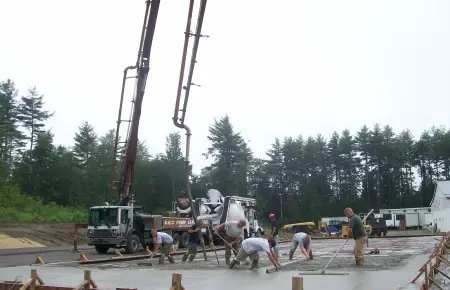
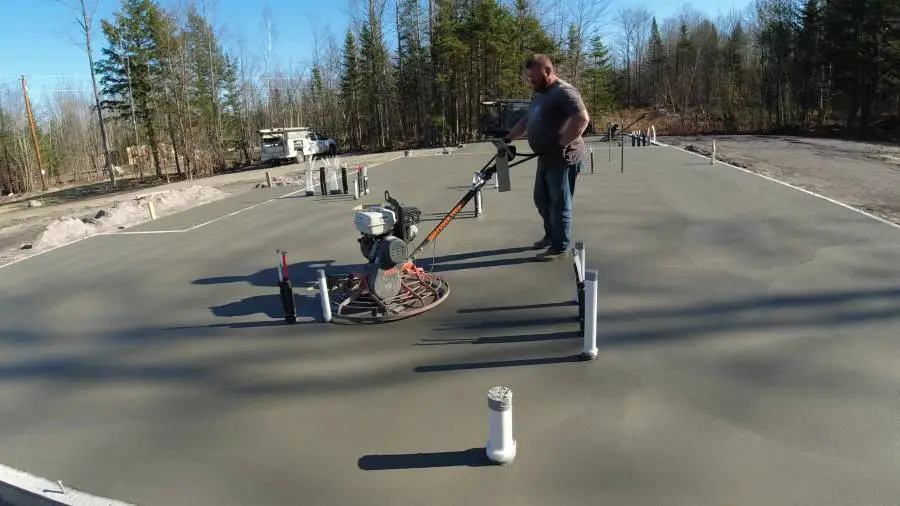
THAT'S US PUMPING A CONCRETE SLAB IN HALLOWELL, ME.
THE SLAB SUB-GRADE PREPARATION
I feel the most important part of building a slab is the
sub-grade preparation. If you don't start with a good base the concrete
will probably settle and crack.
We get a lot of frost in the ground where I live. It's not unusual for the dirt to freeze as far down as four feet. When someone asks me how to prepare the gravel base for their slab I recommend:
1. If you don't already have a good gravel base, dig out the "bad" dirt and replace with a good crushed gravel.
I would go as deep as the frost line in your area. If you don't have any freeze thaw cycles a 12" to 24" base should be good.
2. Compact or roll the gravel in 12" lifts to prevent the slab from sinking.
3. Use a laser level to get the final dirt grade flat. This makes for a uniform slab placement and setting the forms is much easier.
Most of the concrete slabs we pour are 6" thick. If someone is building a house or a commercial garage we thicken the edges to 12".
Forming the edges of a slab is very important. We use 2x6's for most residential applications. We use 2x12's to form the edges when they are thicker.
If you're thinking of installing a concrete slab for a house, garage, or shed and want to try and tackle it yourself, I'll teach you how to do it.
Check out my COURSE on how to install a concrete slab to learn everything you need to know!
Check out my 11 step guide to pouring a concrete slab!
THE TOOLS YOU NEED TO BUILD A CONCRETE SLAB
I've made a list of the 14 tools you will need to build a concrete slab.
The list includes the tools you need to form the slab and the tools to pour the concrete also.
HOW TO FORM A CONCRETE SLAB
1. Lay out all the boards around the perimeter as straight as possible
2. Nail them together using shorter boards approximately three feet long make sure they are at least 1 1/2" longer than your slab dimensions so you can nail them together.
3. Stand the boards up on edge and measure each length marking the slab dimension on each board. Nail the perimeter together.
4. When you have your box nailed together and roughly in place measure diagonally corner to corner to square the slab. You should have exactly the same measurement each way to make the slab square.
5. Next we pin the corners with metal or wooden stakes so the boards don't move out of square.
6. Put a nail in each corner and run a string all the way around the inside edge of the boards to straighten them.
7. Finish staking the boards using the string as a guide. I like a perfectly straight edge, the builders do to.
8. Use a laser level to set the boards to grade. You may have to lift them a little or dig under them to achieve the proper height. Nail the boards to the stakes when the grade is good.
9. Back fill the boards with some gravel so they don't move when the concrete is poured.
10. That's it! The forming is done.
To see a step by step guide with pictures click on FORMING A SLAB.
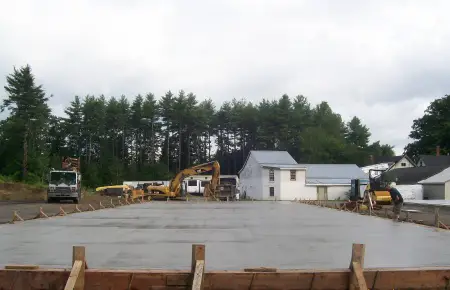 SLAB FORMS ARE 2X12'S
SHOULD YOU USE A VAPOR BARRIER UNDER THE SLAB?
I think it is a good idea to place a vapor barrier or
vapor retarder under a concrete slab. The less water transmission and
radon mitigation up through the concrete the better. This will have to
be installed before any reinforcement goes into the slab.
WHAT KIND OF REINFORCEMENT WORKS BEST?
I have had a lot of success using a combination of rebar,
wiremesh and fibermesh. Click on each if you are not familiar with them.
When I install reinforcement I always put a double row of rebar around the edges. If the edges are 12" thick I put a double row near the top and a double row on the bottom, setting on some bricks.
If it's a commercial slab I will tie a mat of rebar 12 to 16 inches on center throughout the entire slab, use chairs or bricks to keep it up in the concrete.
Why you should put rebar in a concrete slab.
I use fibermesh in everything we pour. Wire mesh works good if you prop it up off the ground with chairs or bricks. Sometimes I will use both together if price isn't an issue.
You only get one chance to do this right, a little overkill is OK in my opinion.
This is my step by step guide on how to pour a small concrete slab
Also, learn how to build a diy concrete patio.
FAST SETTING CONCRETE MIX FOR POURING SLABS IN COLD WEATHER
In Maine, I have to pour in cold weather for 4 months out of the year. I use a special mix design to help my concrete set up faster.
See what I do to make my concrete faster setting here.
This is how I build and pour a concrete ramp.
Here's how you can learn how to pour your own diy concrete driveway
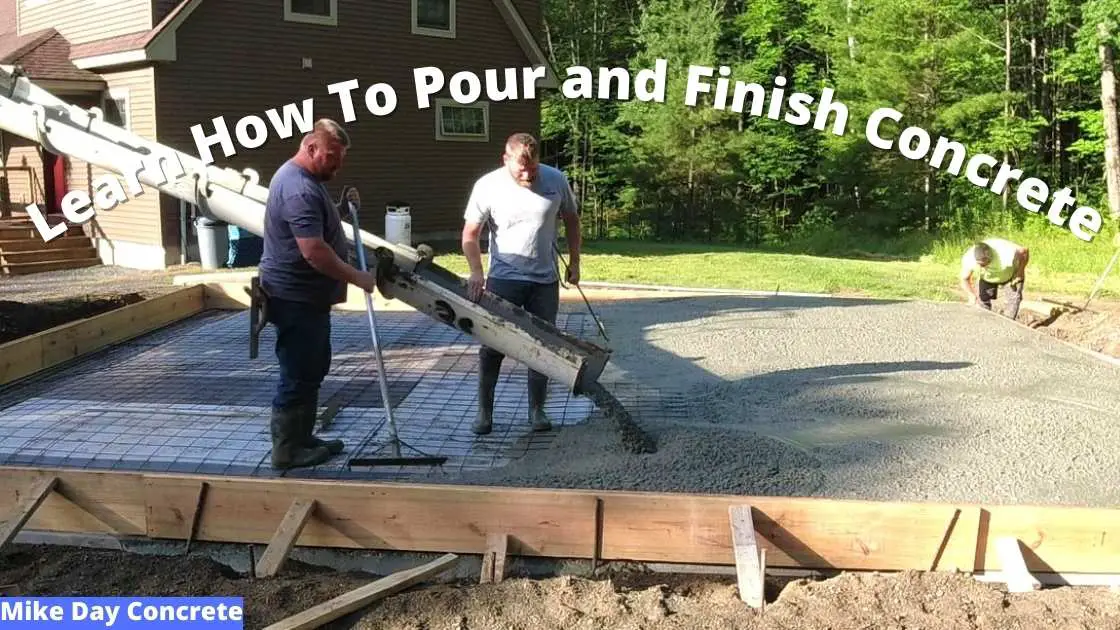
POURING A CONCRETE SLAB - HOW WE DO IT.
Like I said before, you only get one chance to do this right. Pouring and finishing concrete floors is a skilled trade. It is usually best to hire a quality concrete contractor to "start out on the right foot."
You can check out my Video that shows you how we pour a concrete slab.
If the slab is small you might be able to do it yourself. Click on How to pour concrete if you want to try it on your own.
Click on HOW TO MIX CONCRETE if you want learn how to use bags of concrete mix to do your slab.
Click on CONCRETE MIXING RATIOS to learn what the correct proportions of cement, sand, stone, and water are to mix your own concrete by hand.
Click on CONCRETE SLAB CALCULATOR to figure out how much concrete to order.
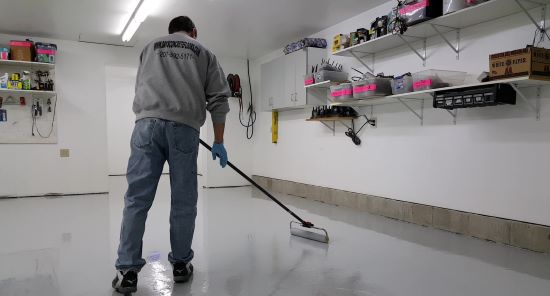
Click on the link CONCRETE SEALER to learn about properly curing concrete slabs.
Installing Concrete for a dog kennel slab? Here's how I do it.
Check out the Concrete Mix Ratios for 3000, 3500, and 4000 psi concrete.
What you need to know about pouring concrete in cold weather.
Also, check out how thick should driveway concrete be?
High heat concrete mix design for an outdoor fireplace
