The Ultimate Guide to Using Color Hardener on Concrete: Tips, Tricks, and Techniques
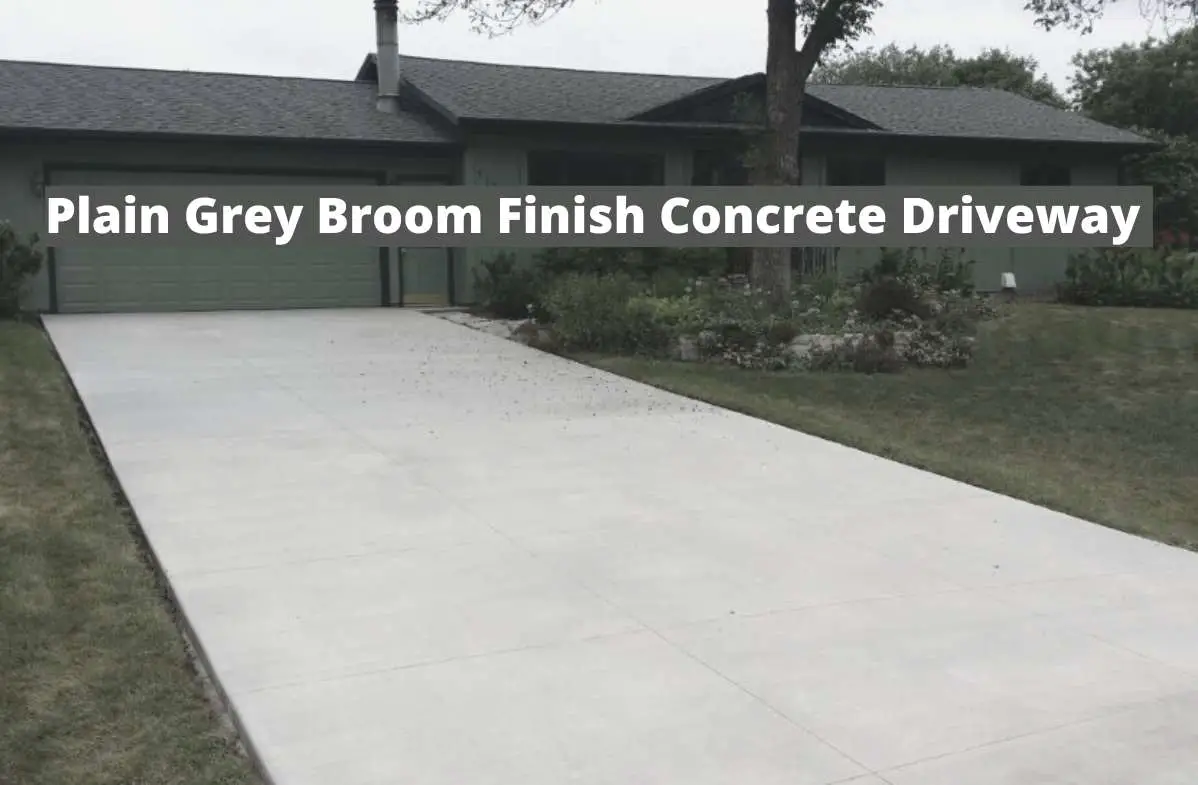
Are you tired of plain gray concrete?
Do you want to add some colored concrete to your outdoor space?
A concrete color hardener is a great option for you. It can help you create a wide variety of colors and shades that are not possible with integral concrete color.
In this step-by-step guide, we will show you how to change the color of a plain gray concrete surface using dry shake color hardeners.
WHAT IS CONCRETE COLOR HARDENER?
Color hardener is a blend of cement, pigments, and fine aggregates that is applied to the surface of freshly placed concrete to create a durable and long-lasting color.
It's used to improve the color uniformity of concrete surfaces, add depth and richness to the color, increase the surface strength of concrete, and protect it from abrasion and weathering.
Concrete color hardener is typically applied by hand after the concrete has been placed and leveled, but before it has fully cured. This allows the color to be evenly distributed and creates a surface that is both durable and attractive.
Preparing The Concrete Surface For Color Hardener
To color concrete with a dry shake hardener or color hardener, you don't need any special preparation or concrete mix design. However, it's essential to focus on the details.
Because you're using colored powder concrete hardener, you don't need to add any integral color to the concrete truck.
The concrete surface should have enough moisture to absorb the hardener, but not have standing bleed water. Excess air entrainment can prevent moisture from reaching the surface.
The color hardener must be applied at the right time, after the bleed water evaporates but before the surface dries out.
PRO TIP: Before using a dry-shake hardener, it is important to consult with your ready-mix producer and ensure that the mix design is suitable for this purpose.
Admixtures added to regular concrete like air-entraining agents and water reducers may decrease the amount of bleed water that can be absorbed by the color hardener.
Some dry shake manufacturers suggest that the concrete's air content should be kept below 4% to prevent issues.
HOW TO USE COLOR HARDENER ON CONCRETE
STEP 1. Shake and fluff the color hardener
Color hardener packs down as it sits in the bucket. Therefore, it is essential to shake the buckets and fluff the dry powder with your hands as you go along. This will help you throw it efficiently.
Step 2: Cast the Proper Amount of Color Hardener on the entire Slab
To achieve a sufficient coverage rate, it is generally suggested to apply dry shake hardener at a recommended application rate of one pail (50-60 pounds) per 100-125 square feet.
However, if the aim of using the hardener is to provide extra abrasion resistance, a higher coverage rate may be necessary. Most pros recommend a minimum of six-tenths of a pound per square foot in such cases.
It's important to note that applying too much or too little color hardener onto the freshly placed concrete can negatively affect the appearance and performance of the final product, so proper coverage is crucial for a successful outcome.
When you hand broadcast the color, do it in two applications. Throw about 70 percent of the color on the first pass and 30 percent on the second.
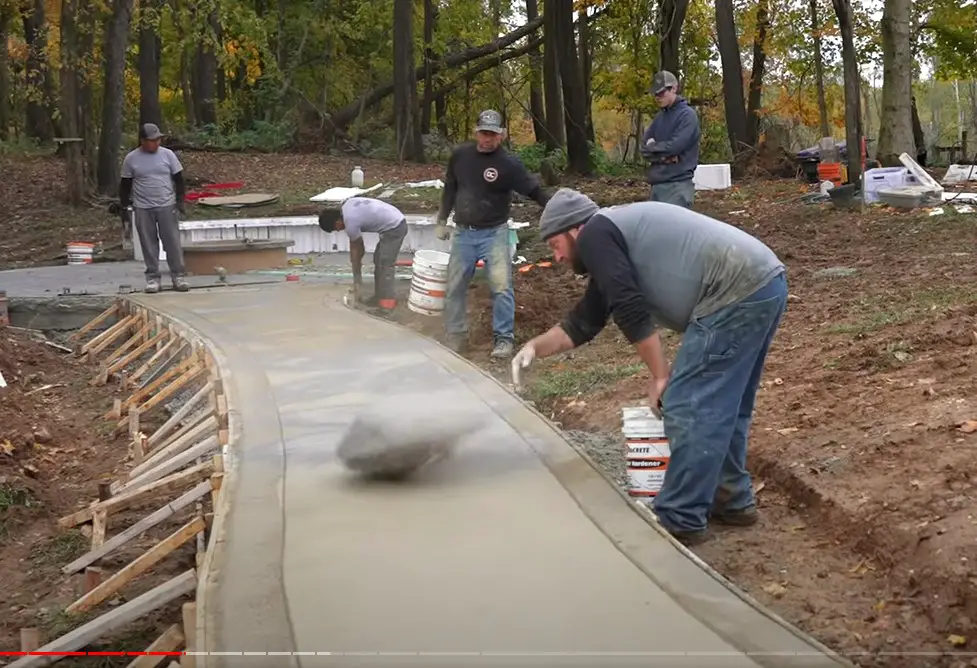
This will help the color to float in better, and it will be more efficient because after the first broadcast is floated well, you will be able to see what areas need more color and what can be left alone.
To ensure complete coverage, the second layer should be applied perpendicular to the first layer, if feasible, to fill any gaps.
To ensure even color distribution, it's important to apply dry shake color hardener properly. Begin with your gloves on, and grab a handful of color hardener out of the bucket.
PRO TIP: You can also use a bucket lid to broadcast the color hardener. Just place some powder on the lid and fan it out the same as using your hand.
Hold your hand low and fan the material out over the slab, gently and evenly, while moving your hand horizontally across the surface.
Throwing dry shake hardeners too far or too high can cause the mixture of sand, cement, and coloring agents to separate, leading to uneven color.
Continue broadcasting the dry shake hardener until the entire slab surface is covered with color.
Step 3: Let the Hardener Wet Out Before Floating It In
Floating the color hardener right after casting is one of the worst mistakes you can make. It needs to completely wet out first.
"Wet out" means making sure the colored powder is fully saturated with moisture. You'll see the color hardener darken from the moisture in the slab.
When the entire concrete slab surface is dark, it's time to float it in. By allowing the color hardener to wet out first, it becomes a permanent part of the concrete surface.
STEP 4. Floating the color hardener into the surface
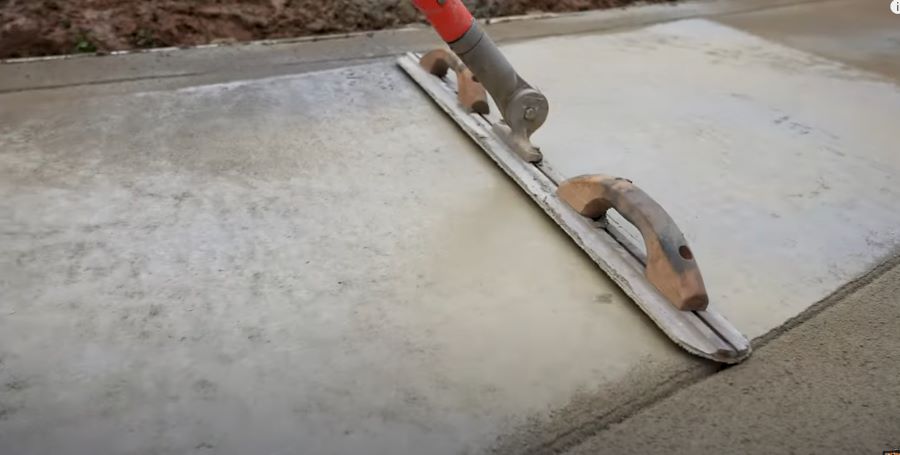
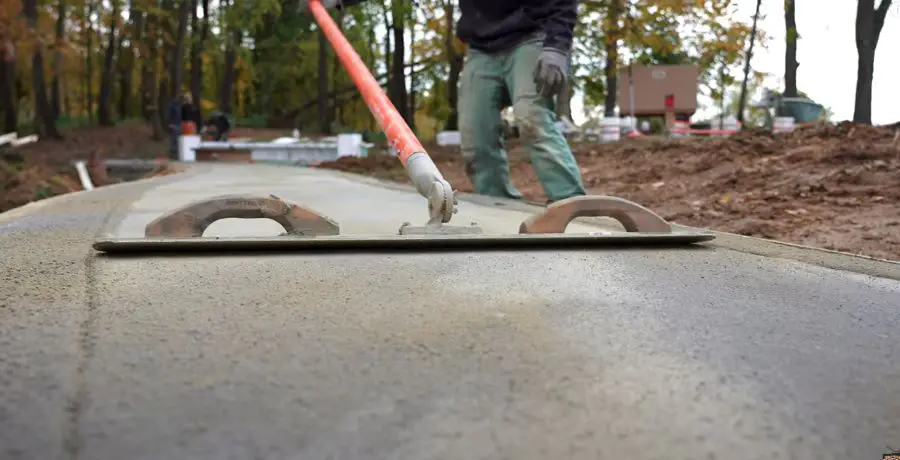
Wood floats - Using a wood float to work in a color hardener helps to keep the surface of the concrete open, allowing excess water to leave evenly.
Wood floats are also very abrasive, which helps to agitate the surface and incorporate the color hardener into the concrete. This leads to a better bond between the color hardener and the concrete surface.
Magnesium and Resin floats - Both these types of bull floats work well for floating in the color hardener. They tend to "close up" the surface of the concrete so be careful not to float while bleed water is present.
For both types of floating methods, it will take multiple passes, back and forth, over the entire surface of the concrete to work in the color hardener. This is normal and creates a good bond with the concrete in addition to strengthening it.
STEP 5. Do you need to use a finishing aid
When working with dry-shake hardeners in hot or windy conditions, it's essential to prevent surface moisture from evaporating too quickly.
High heat and wind can cause surface crusting, cracking, and improper wetting of the color hardener.
To address this, you can use a finishing aid, such as an evaporation reducer like FritzPak Control Finish or Lythic Day 1, which slows the loss of surface moisture and is especially helpful on hot and windy days.
Using a pump-up sprayer, a finishing aid like Lythic DAY1 can be sprayed and floated into the concrete both during the placement and while finishing the concrete.
Lythic DAY1 can be applied as required to improve the workability and extend the working time of the concrete surface.
Lythic DAY1 can be applied both before and after the application of dry‐shake‐hardeners/color hardeners and may be especially useful when there is a limited amount of bleed water to wet out the powdered hardeners.
You are not going to need finishing aid on every single job, but when you do need it, it is a must-have item. Always have it with you so that you can adjust to the current conditions as needed.
STEP 6. Use extra weights on the float if needed
Sometimes, finishing aid is not going to be enough, or you might have a few stubborn spots that are substantially harder to work in while finishing.
In that case, you will need some extra weight for the bull float. Form stakes and bricks can get you through in a pinch, but using Bull float weights is a more effective and efficient option.
After you broadcast the concrete color hardener and it has completely wet out, add the weights on top of the bull float and proceed to float in the color as usual.
STEP 6. Work quickly
Remember that you have to color your freshly placed concrete before you can start troweling or stamping.
Getting behind on the color hardener means that you are going to get behind on the finishing, and before you know it, you are going to miss that opportunity to start stamping just at the right time.
How to Achieve Architectural Concrete using Stamped Concrete with Color Hardeners
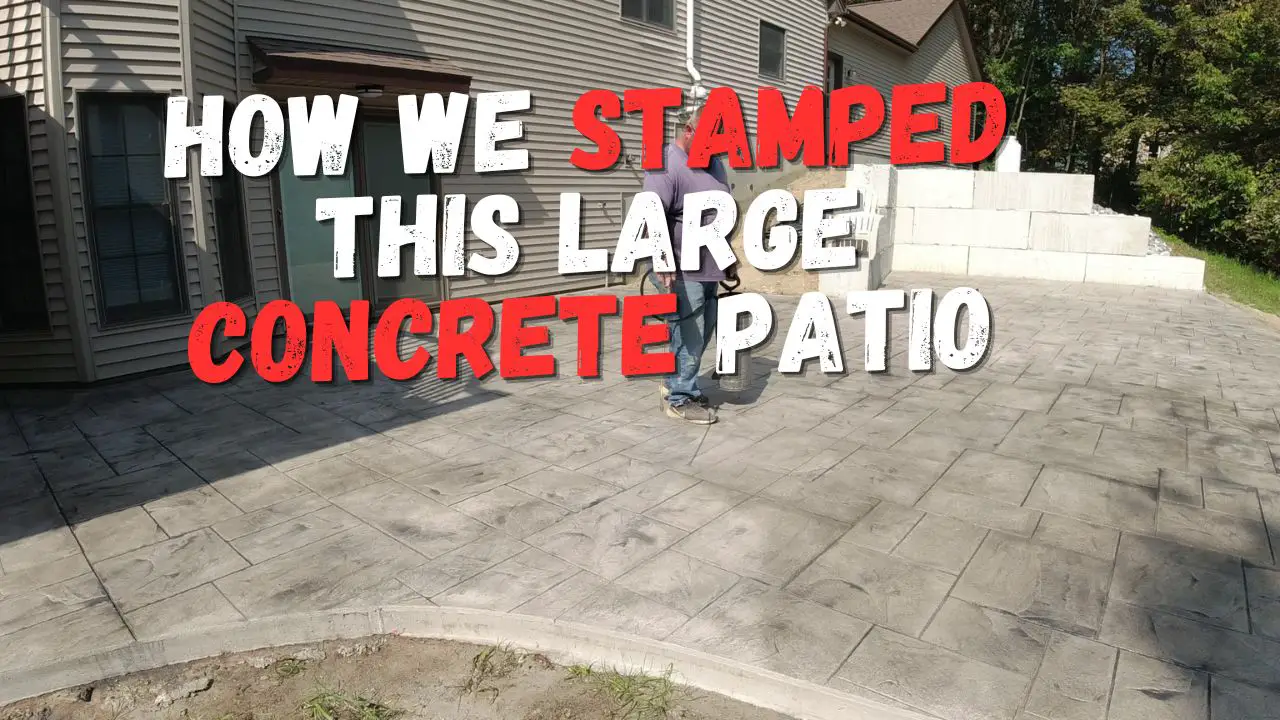
Stamped decorative concrete can achieve a natural look through the use of colors that complement the stamp pattern.
This usually involves creating one or two mock ups to ensure the final look is approved.
To achieve a natural look on decorative concrete applications, avoid applying color in streaks and blend colors together in a random trowel motion.
Dry shake hardeners provide just about any color option and a more wear resistant surface compared to using integral color options.
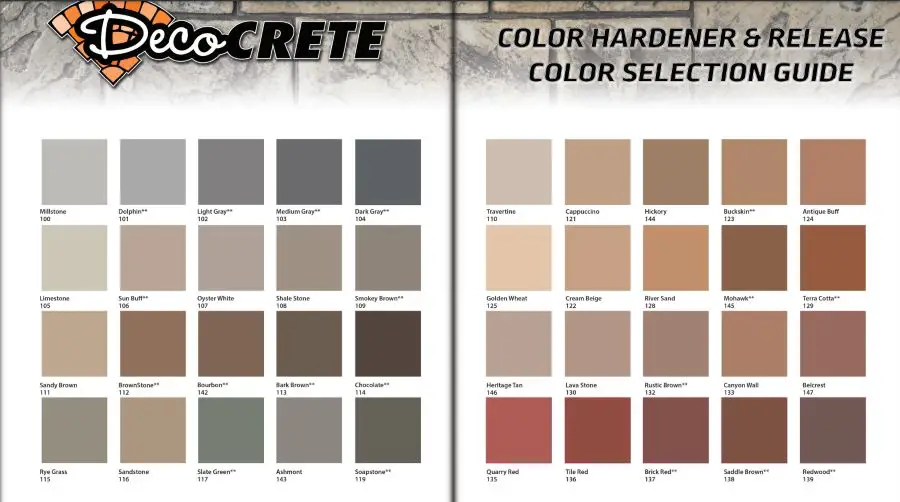
Choose from 40 Colors of Concrete Color Hardener
Color hardener offers a much broader color range than integral color. With color hardener, the applicator has more control over the final color outcome and can blend multiple colors to achieve a more natural-looking end product.
The color range includes earth tones like dark walnut, green slate, terra cotta, as well as some lighter colors like white and beige.
These color options allow for a wide range of design possibilities and can be customized to match a variety of landscapes, architectural styles, and other project requirements.
You can purchase color hardeners from www.deco-cretesupply.com
PROS AND CONS OF CONCRETE COLOR HARDENER
Pros:
- Produces a stronger, more durable concrete surface with compression strength up to 8,000 psi, twice that of the concrete base.
- Offers a wider selection of vibrant colors with color charts.
- Easier to achieve an even color consistency on the entire slab
- Also easier to separate colors for borders and bands on the same slab
- Reduces color-related callbacks and produces a better surface finish.
- Can use to fix and blend imperfections on stamped concrete
- Great for coloring concrete stair treads and risers
- Affordable cost.
- No wash-out fees from the Ready-Mix Supplier
Cons:
- Best used for horizontal surfaces, but not ideal for vertical surfaces.
- Takes more man-power for most applications
- Messy and labor-intensive to apply.
- Surface crusting may occur in dry, windy conditions.
- Harder to apply on large square footage projects
Additional Information:
- Color hardener as a coloring method creates a surface that is more wear-resistant and less permeable, preventing the intrusion of water, salts, and other stains.
- Integral colors limit color options and put contractors at the mercy of the ready-mix company in terms of color consistency.
- UV-stable colored powder concrete hardener is also available, which ensures that the color does not fade over time.
WHERE TO USE COLOR HARDENERS
Dry shake color hardeners are a popular option for enhancing the appearance and durability of concrete surfaces.
They come in a wide range of colors and can be applied to various types of concrete to achieve a colored concrete look.
Here are some of the applications and types of concrete flat work where color hardeners can be used:
Applications:
- Stamped concrete projects
- Steel Trowel finished concrete
- Exposed aggregate concrete
- Salt finishes
- Broom finishes
- Float texture finishes
- Overlays and toppings
Types of Concrete:
- Ready-mix regular concrete
- Decorative concrete
- Architectural concrete
- High-strength concrete
- Fiber-reinforced concrete
CONCRETE COLOR HARDENER VS. INTEGRAL COLORS
When it comes to decorative concrete products and processes, there are many choices for a concrete installer. One such choice is whether to use color hardener or integral color for small to medium-sized stamped concrete pours.
While the cost is similar for both methods, color, and hardness are the two main factors that differentiate the two. By using a color hardener, the applicator has greater control over the color outcome and can blend multiple colors for a more natural-looking end product.
Additionally, color hardener increases surface hardness and abrasion resistance. However, it can be messy and requires a bit of practice to master.
The key variables to consider when choosing a coloring method include job size, pouring logistics, color choice, environmental conditions, and texture selection.
In Conclusion:
Color hardener is an excellent option for changing the color of plain gray concrete. It can create a wide variety of colors and shades that are not possible with integral color.
By following the steps mentioned above and using the right tools and equipment, you can change the color of your concrete and give your outdoor space a whole new look.
Get a really good understanding about using color hardeners on the job by watching this video tutorial: how to apply color hardeners to concrete.
