Master the Art of Pouring a Small Concrete Slab:
Step-by-Step Instructions for Beginners
Are you a DIY enthusiast looking to tackle a small concrete slab project? Look no further!
In this comprehensive guide, I'll walk you through the entire process of pouring a small concrete slab, from start to finish, using my step-by-step instructions.
From preparing the gravel base, and setting the concrete forms, to finishing and curing the slab, we've got you covered. By following my expert advice, even beginners can achieve fantastic results.
tools, materials and equipment you'll need
Before you start, gather the necessary tools and equipment you'll need for grading, forming, pouring concrete, and the final finish.
the tools you need:
Equipment & materials
- Sub-base material (gravel or crushed stone)
- Concrete Form boards
- Wood or metal stakes
- Concrete mix (bagged concrete or ready-mix concrete)
5. Reinforcing wire mesh or rebar
7. Form release agent (optional)
8. Nails or Screws (for fastening forms together and in place)
9. Vibratory compactor
Preparing the Gravel Sub-Base
A solid gravel base is essential for the durability of your concrete slab. Follow these steps to prepare the area:
begin with a marked area:
- Determine the size and shape of your slab, and mark the area using stakes and a string line.
- Ensure the corners are square using a carpenter's square.
- Measure the diagonals to confirm that the layout is square and accurate.
excavating the site
- Using your shovel, dig out the marked area to a depth of approximately 4-6 inches, depending on the thickness and finished height of your slab. You may need to dig deeper!
- Make sure the excavated area is level, and tamp the soil down to create a firm base.
installing the gravel sub-base
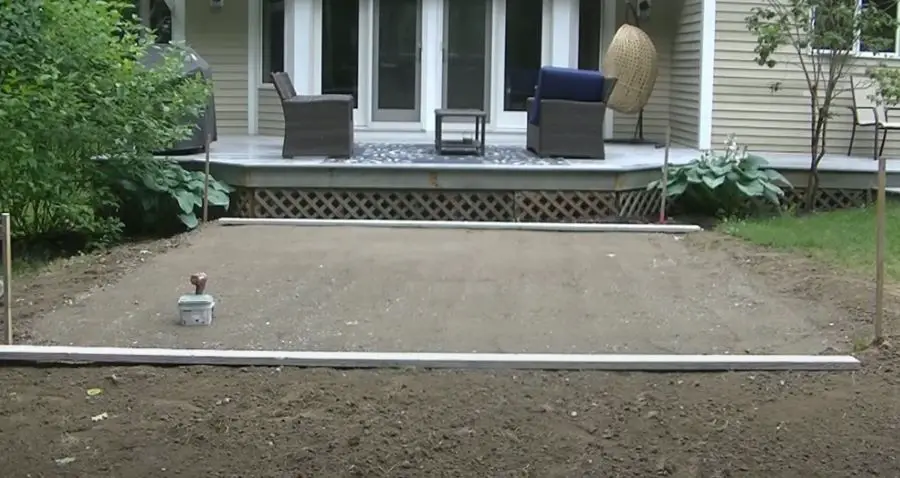
- Spread a 3-4 inch layer of gravel or crushed stone evenly over the excavated area. In areas with a lot of freeze / thaw, you might want to go with twice as much gravel.
- Use a gravel rake to create a level surface.
- Compact the gravel sub-base using a plate compactor or hand tamper.
building the formwork
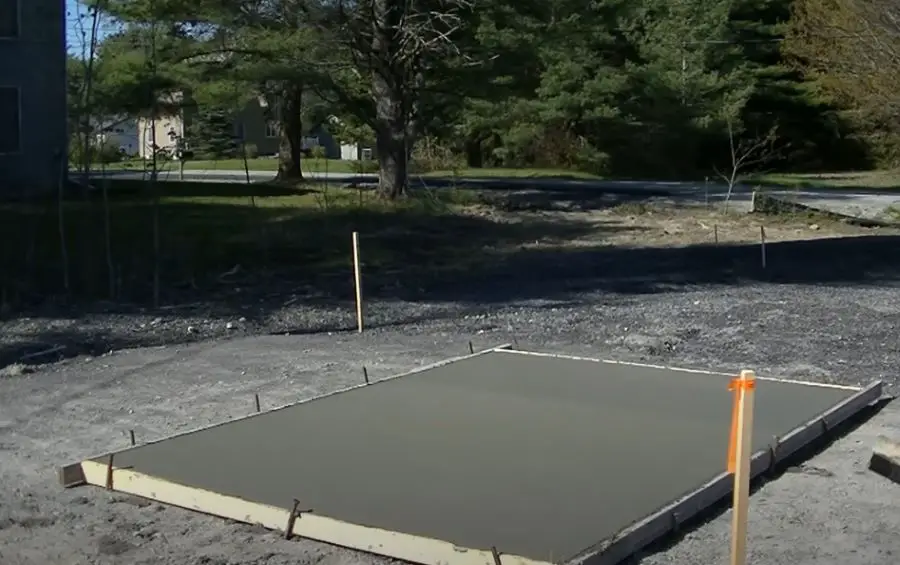
Formwork provides a mold for your concrete slab, ensuring it maintains its shape and thickness as it sets.
installing the slab form boards
- Cut your form boards to the appropriate length, according to the dimensions of your slab. I cut my forms 1.5" longer than the slab dimension so I can overlap the ends and screw the boards together.
- Apply a form release agent to the inside surfaces of the boards to prevent the concrete from sticking to them. (optional)
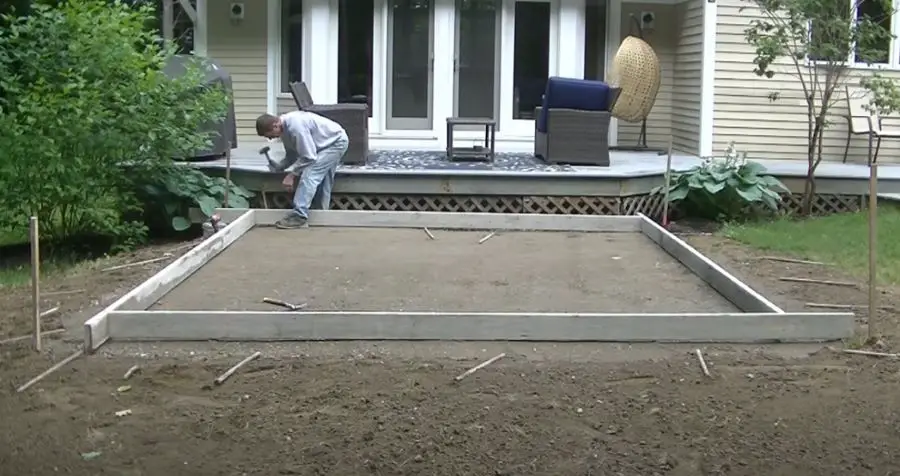
- Position the form boards around the perimeter of your slab, making sure they are level and properly aligned.
- Secure the form boards in place with stakes, placed on the outside of the forms.
- Check the boards for level and adjust as needed.
choosing the right concrete mix
Selecting the right concrete mix is crucial for the durability and strength of your slab.
concrete mix options
- Ready-mix concrete: Delivered pre-mixed concrete, is a convenient option that saves time and effort.
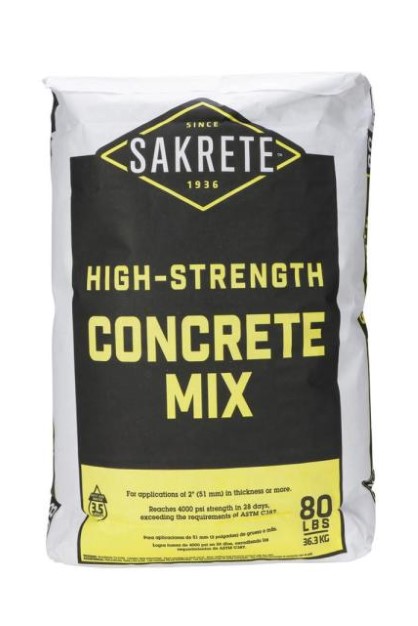
- Bagged concrete mix: This requires manual mixing, but allows for more control over the amount of concrete produced.
Mixing with a concrete mixer
- Add water to the mixer according to the manufacturer's instructions.
- Slowly add the concrete mix, allowing it to combine with the water.
- Mix the concrete until it reaches a uniform consistency.
Mixing in a mixing tub or wheelbarrow
- Add the concrete mix to the tub.
- Slowly pour in water, following the manufacturer's recommended ratio.
- Use a hoe to mix the concrete, ensuring a uniform consistency.
ready-mix concrete
- Call and order the concrete mix from a local concrete company
- The concrete truck delivers the concrete to your house
- Driver mixes the concrete for you to the consistency you like
- You have to order some excess concrete to make sure you don't run short
reinforcing the slab
Reinforcement is recommended but optional, it can help prevent cracking and improve the overall strength of your slab.
use reinforcing wire mesh or rebar
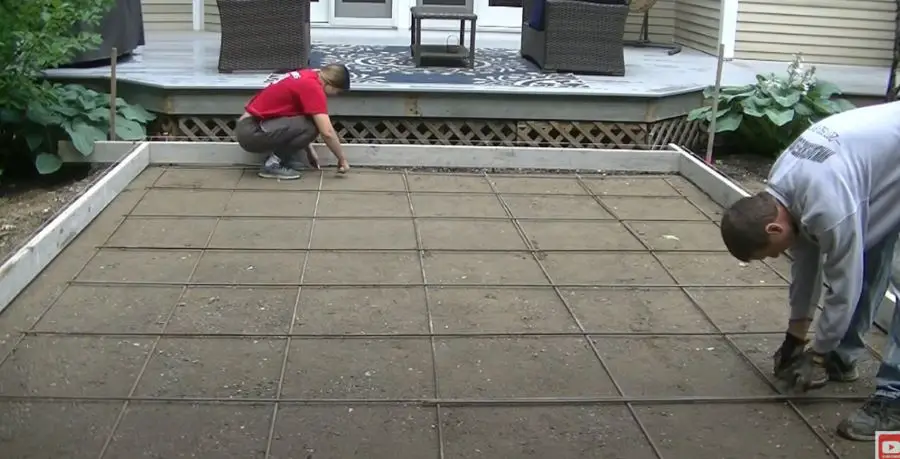
- Cut the mesh or rebar to fit the dimensions of your slab, allowing for a 2-inch clearance from the edges and maintaining consistent spacing between the bars.
- Position the mesh or rebar in the slab area. If you're using rebar bars, tie them in a mat that's 16" on center.
- Use bricks or rebar chairs to suspend the reinforcement material, ensuring it remains in place when the concrete is poured.
Pouring the concrete slab
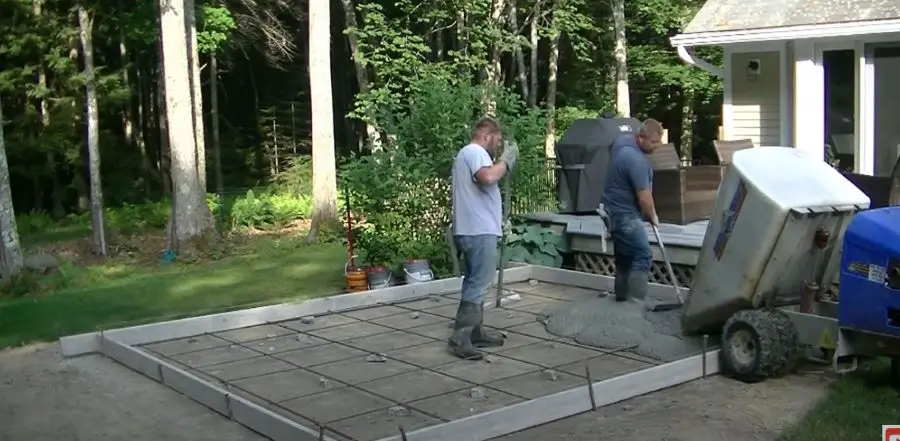
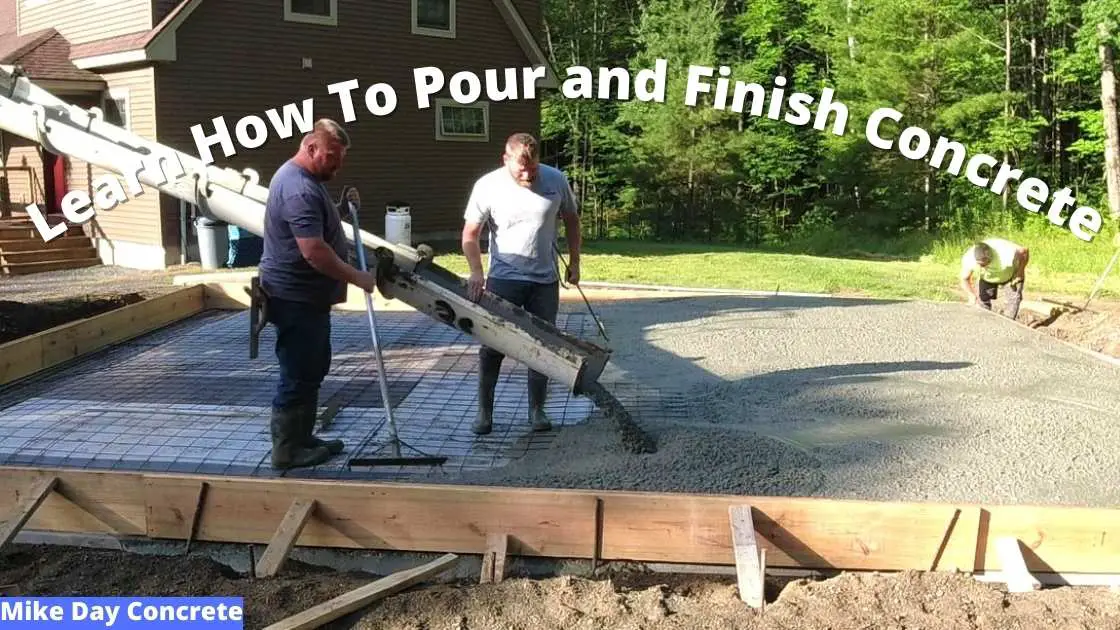
With proper preparation, pouring the concrete is a straightforward process. If you're using a ready-mix concrete truck, you may be able to back the concrete truck right to the slab and use the truck chutes for pouring concrete into the forms.
transporting the concrete
- Use a wheelbarrow to transport the concrete from the electric mixer to the slab area if you need to.
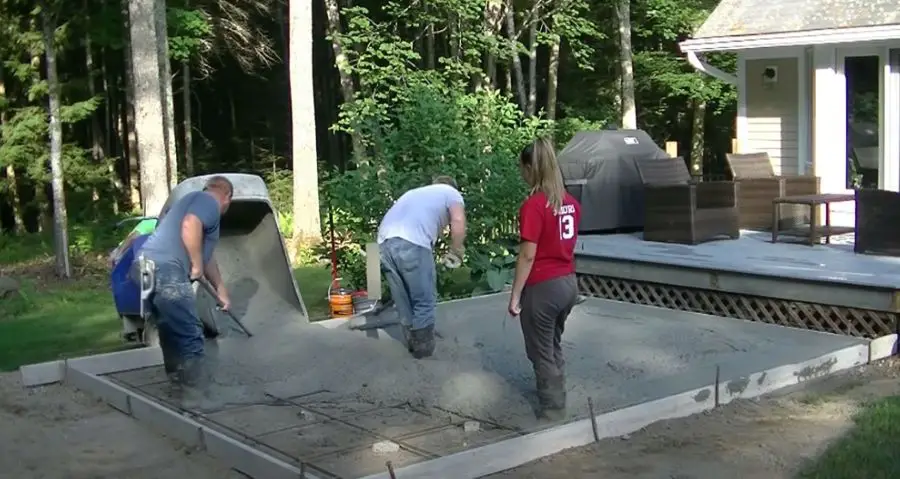
- Pour the mixed concrete into the formwork, starting at one corner and working your way across the slab.
pouring concrete - filling the forms to slab height
- Spread the concrete evenly throughout the form, using a shovel or a concrete rake.
- Pour concrete into the forms, even with the tops of your form boards until you have enough concrete to fill the concrete slab.
- Tap the sides of the form boards with a hammer to help release air bubbles and ensure the concrete fills all voids.
finishing the concrete
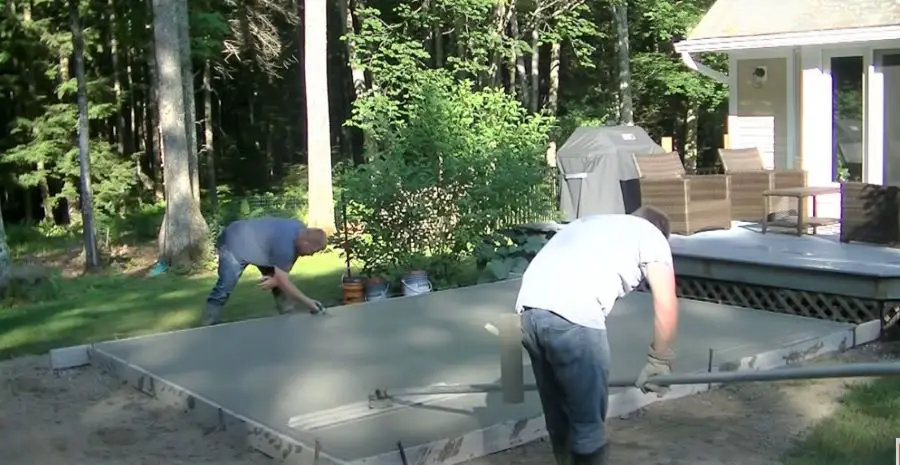
A smooth finish or broom-finished concrete surface enhances the appearance and durability of your concrete slab.
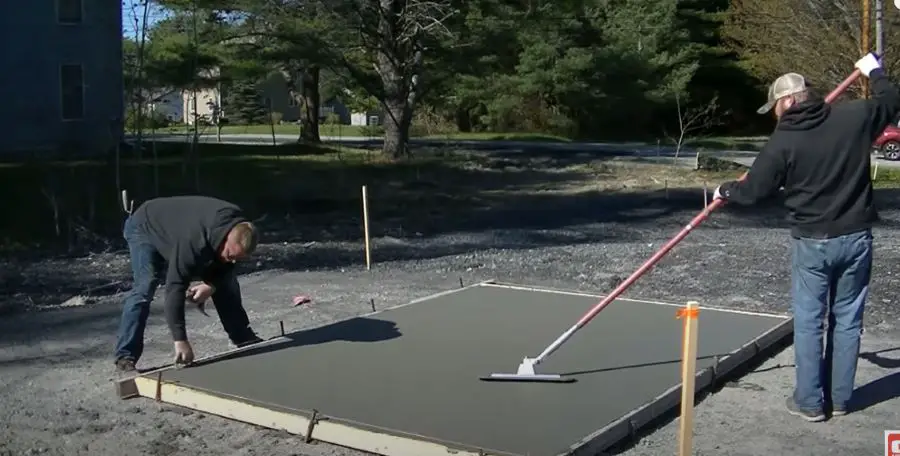
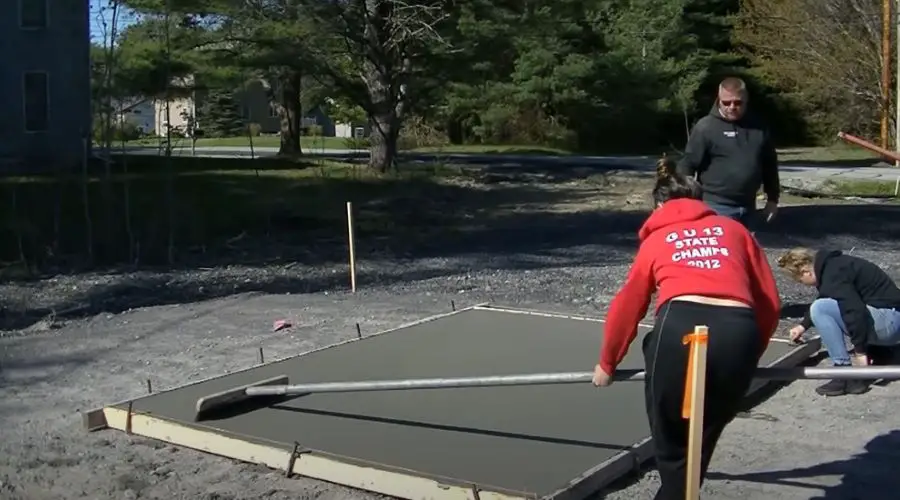
screed and level the concrete
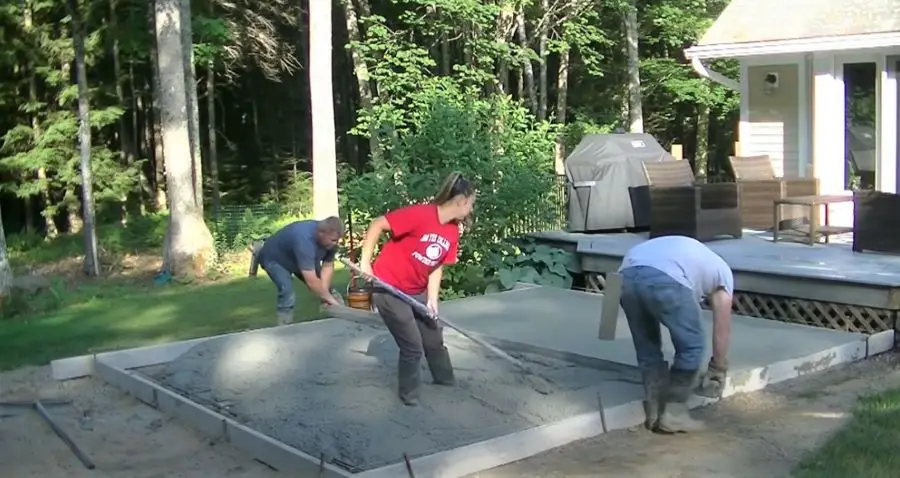
- Drag a straight-edged screed board, or use a sawing motion across the top of the concrete form, leveling the surface of the concrete.
- Fill any low spots with extra concrete and screed again, ensuring a flat surface.
floating the surface
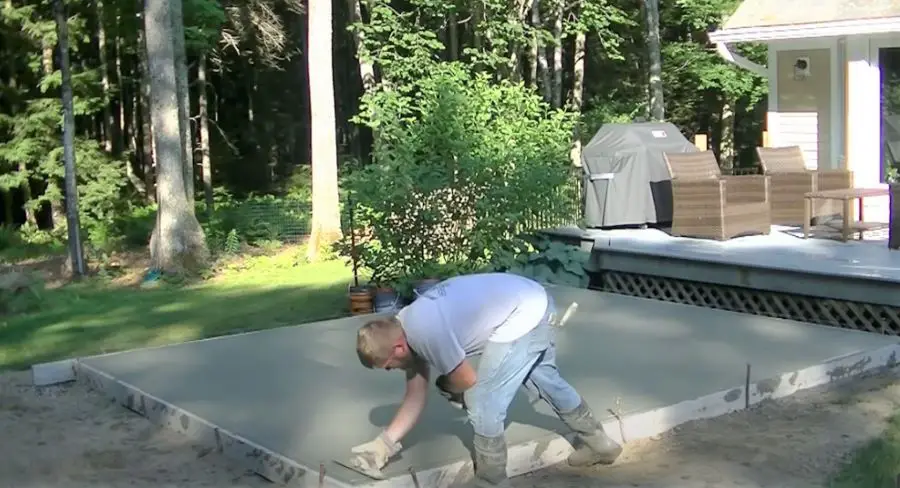
- Use a concrete wood float or a magnesium float to smooth the surface, working in a back-and-forth motion.
- For larger concrete slabs use a bull float to smooth the surface by pushing and pulling it across the surface until all the voids are filled and the concrete slab looks smooth.
- Continue to fill any remaining voids or low spots with concrete, and float the surface again as needed.
concrete finishing tools
Have your finishing tools ready, you'll need a hand float, steel trowel, concrete edger, concrete broom, and a jointer/groover for control joints in large slabs.
The concrete slab will set up faster in hot temperatures and slower in colder temperatures.
- Use the edger to create a smooth rounded edge along the perimeter of your concrete slab.
- For a large slab or concrete patio, use a groover (jointer tool) to create control joints, which help prevent cracking. Space the control joints at intervals equal to 2-3 times the slab thickness (in feet).
final finishing of your small slab
- Allow the concrete to set until the surface begins to harden and the surface water has evaporated.
- Use a steel trowel or broom to create your desired finish: a smooth finish for a garage or shed or a textured (broom) finish for a concrete patio or entry slab.
- Be careful not to overwork the surface, which can weaken the concrete.
- For a smooth finish - mag float the surface first, let the concrete set up some more, then steel trowel it. Use these hand tools in a back-and-forth action for the best results.
- For a broom finish - mag float the surface, let the concrete slab set up a bit then steel trowel the concrete. Lightly drag the broom across the surface right after troweling for a non-slip texture.
curing the slab
curing time
- Allow the slab to cure for at least 7 days, maintaining moisture throughout the process.
- For optimal strength, allow the slab to cure for 28 days.
removing the forms
Once the slab has cured, you can remove the formwork.
- Carefully remove the stakes and form boards, taking care not to damage the edges of the slab.
- Dispose of or clean and store the form boards for use on any future concrete slabs.
backfilling and landscaping around your concrete patio or slab
You're not done yet! Complete your project by backfilling around the slab and do any finished landscaping.
backfilling
- Fill any gaps around the slab with soil, ensuring that it slopes away from the slab to promote proper drainage.
- Tamp the soil down firmly to prevent settling and erosion.
landscaping
- Add topsoil, mulch, or decorative stones around the slab to enhance its appearance and integrate it into your landscape.
- Consider planting grass, shrubs, or flowers to complete the look.
in conclusion:
By following this detailed guide on how to pour a small concrete slab, even beginners can achieve professional results.
Remember that proper preparation, using the right materials, and allowing sufficient time for curing is essential for a durable and attractive finished product.
With a bit of effort and patience, your new concrete slab will be a long-lasting and functional addition to your home or garden.
Get expert training on how to pour your own small or larger slab
For expert tips and step-by-step video training, you can join The Concrete Underground.
The Concrete Underground offers private online video training on how to form, pour, and finish all types of concrete including garage slabs, patio slabs, shed slabs, and much more.
There's also a place to ask questions and get them answered by me, Mike Day, owner of Day's Concrete Floors, Inc. I've been pouring and finishing concrete for over 40 years and I developed the Concrete Underground to help others learn how to work with concrete successfully.
Frequently Asked Questions About Pouring Small Concrete Slabs
1. How thick should a small concrete slab be? For most small concrete slabs, a thickness of 4 inches is sufficient. However, the thickness may vary depending on the intended use and load-bearing requirements of the slab.
2. What type of concrete should I use for a small slab? Choose a concrete mix with a compressive strength of at least 3,000 PSI for most residential applications. Ready-mix concrete and bagged concrete mix are both suitable options.
3. Can I pour a concrete slab directly on the ground? No, it is essential to prepare a suitable sub-base (typically gravel or crushed stone) to ensure the slab's stability and durability. The sub-base should be compacted and leveled before pouring the concrete.
4. Do I need reinforcement for a small concrete slab? While not always necessary, adding reinforcement (such as wire mesh or rebar) can improve the slab's strength and help prevent cracking. Reinforcement is particularly beneficial for slabs subjected to heavy loads or significant temperature fluctuations.
5. How do I properly mix the concrete? You can mix concrete using an electric concrete mixer or a mixing tub and hoe. Add water according to the manufacturer's instructions and mix until you achieve a uniform consistency.
6. How long does it take for the concrete to set? Initial setting time for concrete can vary depending on factors like mix type, temperature, and humidity. Generally, it takes around 24-48 hours for the concrete to set enough to support light foot traffic. However, it is recommended to wait at least 7 days before subjecting the slab to heavier loads.
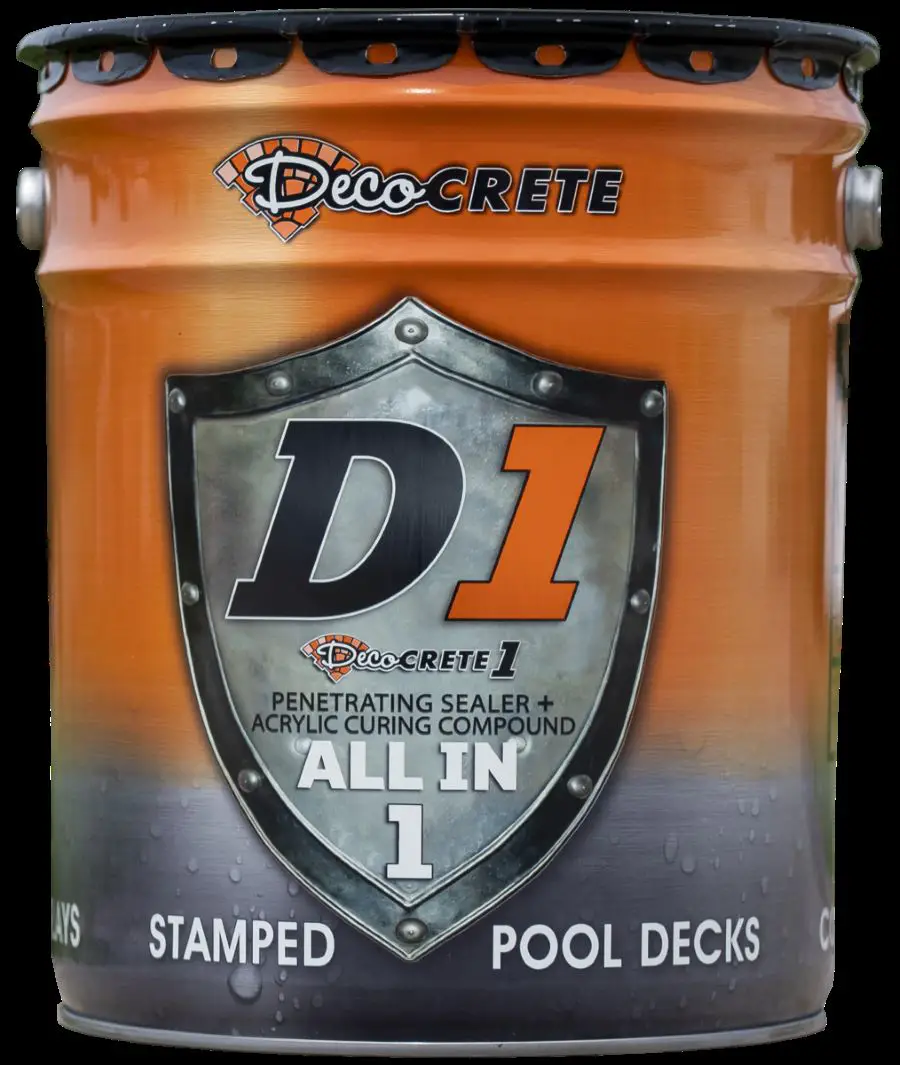
7. How do I cure the concrete slab? You can maintain moisture on the slab's surface for at least 7 days by misting it with water, covering it with wet burlap, or applying a curing compound. For optimal strength, allow the slab to cure for 28 days.
8. What is the purpose of control joints? Control joints help prevent cracking by allowing the concrete to contract and expand with temperature changes. They should be spaced at intervals equal to 2-3 times the slab thickness (in feet).
9. How do I create a smooth finish on my concrete slab? Use a screed to level the surface, then smooth it with a bull float or a hand float. For a final finish, use a hand trowel (smooth finish) or a broom (textured finish).
10. When can I remove the formwork? In most cases, you can remove the forms the next day, or to be safe, wait until after the concrete has cured for at least 7 days, then you can carefully remove the formwork. Be cautious not to damage the edges of the slab while removing the stakes and form boards.
11. Can I use dry pour concrete mix to install my small slab? Using dry pour concrete mix, also known as dry-cement concrete, is a method where dry concrete mix is compacted into a form without adding water.
Then water is misted on top to hydrate the concrete mix for curing purposes. It is not commonly used for pouring small concrete slabs, as it may not provide the necessary strength and durability for a slab.
For small slabs, it is recommended to use a traditional wet concrete mix that has a uniform consistency to ensure proper bonding, strength, and a smooth finish.
Learn how to install you own small concrete slab (DIY Concrete Slabs)
