How to Pour a DIY Concrete Driveway: A Step-by-Step Guide
A DIY concrete driveway is an excellent way to add value to your property, improve its appearance, and provide a functional space for your vehicles.
Concreting a driveway may seem daunting, but with the right tools, materials, and determination, you can achieve a professional-looking result.
In this comprehensive guide, we will walk you through how to build a new concrete driveway, from planning and preparation to the finishing touches. We will also provide tips and tricks to ensure your concrete driveway installation succeeds.
Learn how to form, pour, and finish concrete from ME in The Concrete Underground!
planning and preparation
assess your concrete driveway requirements
Before you start your DIY concrete driveway project, it's essential to consider the following factors:
- The size and shape of your driveway
- The ideal thickness of concrete driveways
- The type of cement for a driveway
- The drainage requirements
- The local building codes and regulations
- The concrete driveway cost per square foot
removing an existing driveway
If you're replacing an old driveway, you'll need to remove the existing one before installing your new concrete driveway. The process for removing an asphalt driveway, old concrete driveway, or gravel driveway will vary, but here are some general steps to follow:
- Obtain any necessary permits or approvals from your local government.
- Call DigSafe - Before removing an existing driveway, it's important to locate and identify any buried utility lines, such as gas, water, sewer, or electrical lines. Damaging these utilities can be hazardous and result in service disruptions, costly repairs, or even personal injury.
- Remove any obstacles, such as landscape features or fencing, that may impede the removal process.
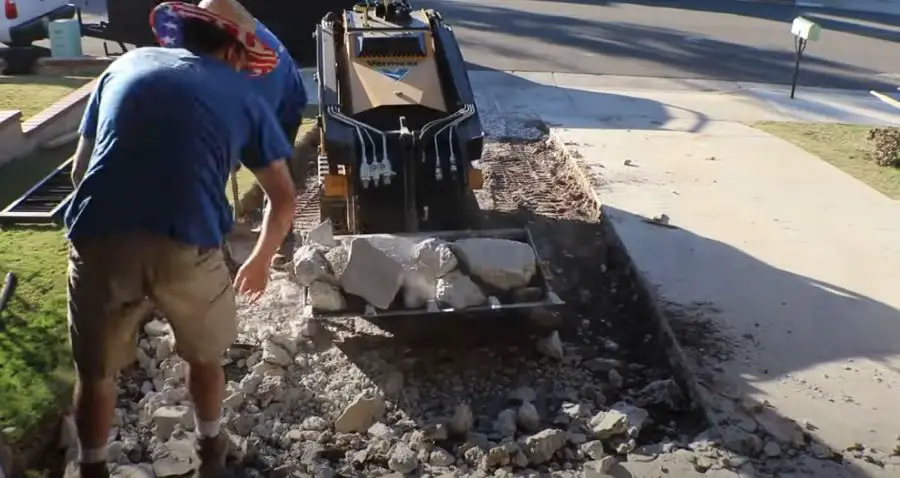
- Break up the existing driveway material using a sledgehammer, jackhammer, or heavy machinery, depending on the size and material of the old driveway.
- Remove the broken-up material and dispose of it properly, either by recycling or disposing of it at an appropriate facility.
- For old gravel driveways, excavate the old base soil to prepare for the new sub-base material.
gather the necessary tools and materials
To build your own concrete driveway, you'll need the following tools and materials:
- Concrete mix (choose a mix suitable for a cement driveway)
- Gravel or crushed stone for the sub-base
- Wooden stakes and string
- A shovel, a skid-steer, or an excavator (for digging)
- A tamper or plate compactor (for compacting the sub-base)
- A wheelbarrow (for mixing and transporting concrete)
- A screed board (for leveling the concrete)
- Edging tools (for shaping the edges of the driveway)
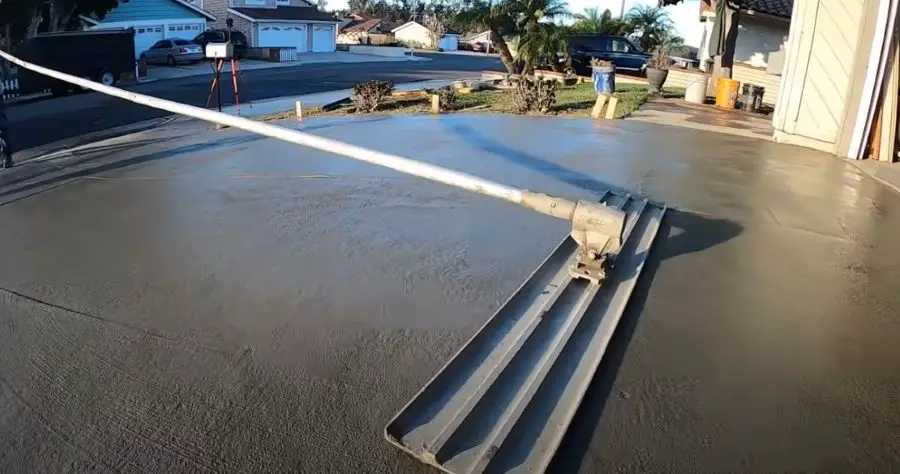
- A bull float (for smoothing the surface)
- A broom (for applying a non-slip broom finish)
- Expansion joint material
- Reinforcement mesh (wire or rebar)
- Builders level or Laser level (for setting concrete forms to height)
prepare the area
To ensure a successful driveway concreting, follow these steps:
- Clear the entire driveway area of any debris, vegetation, or obstacles.
- Mark the outline of your driveway using wooden stakes and string.
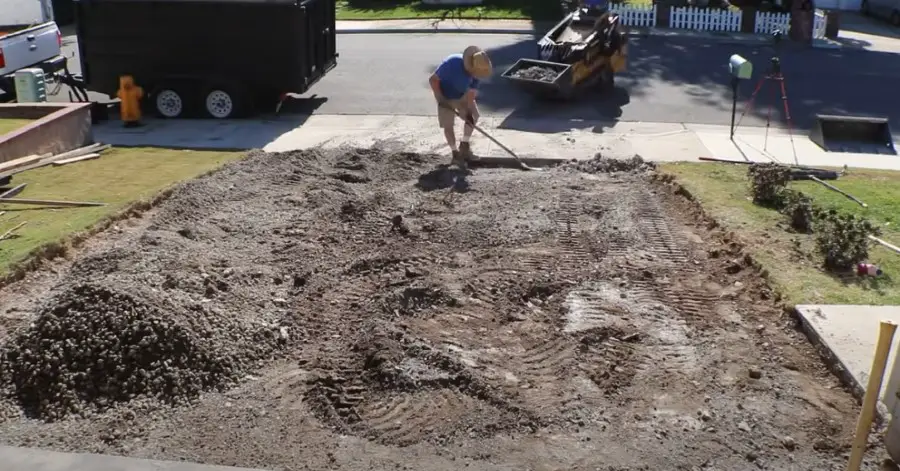
- Excavate the area to the required depth, typically 7-9 inches (18-23 cm) for a standard residential driveway.
- Create a slope for proper drainage, typically a 1-2% incline away from any buildings or structures.
- Compact the soil using a tamper or plate compactor.
- Install a gravel base or crushed stone (approximately 4 inches or 10 cm) as a sub-base and compact it to create a stable foundation for your concrete driveway slab.
not all driveways are the same
The required depth of soil you excavate and the amount of gravel sub-base you install will vary greatly depending on where you live. For areas with a lot of freezing temperatures, you may want to consider a sub-base of at least 18 inches
how to build a concrete driveway
install the forms
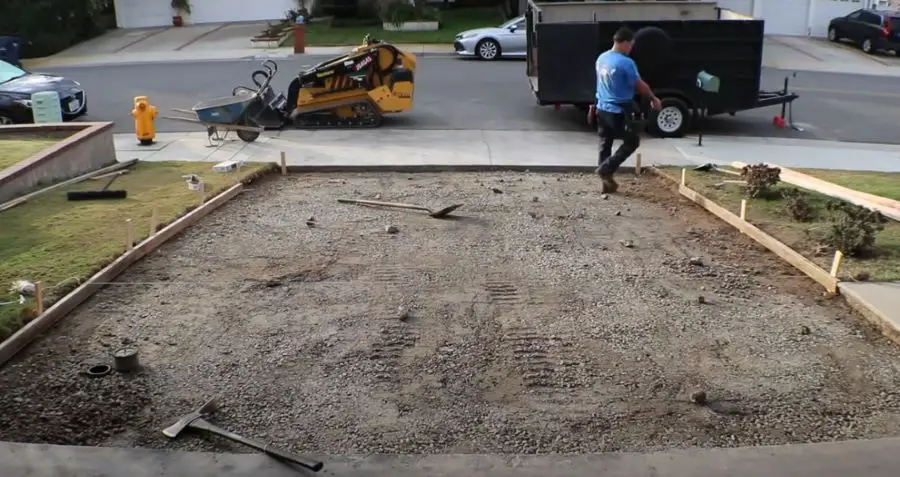
Setting up your concrete forms is essential for shaping your driveway and keeping the concrete in place while you're pouring concrete.
To install the formwork:
- Use metal or wooden stakes and string to outline the shape of your new driveway installation.
- Cut wooden boards to the appropriate length and place them along the string lines.
- Secure the boards to the wooden stakes using screws or nails, ensuring they are level and aligned.
- Use a Laser level or builders level to set the forms to the proper height and slope.
add reinforcement
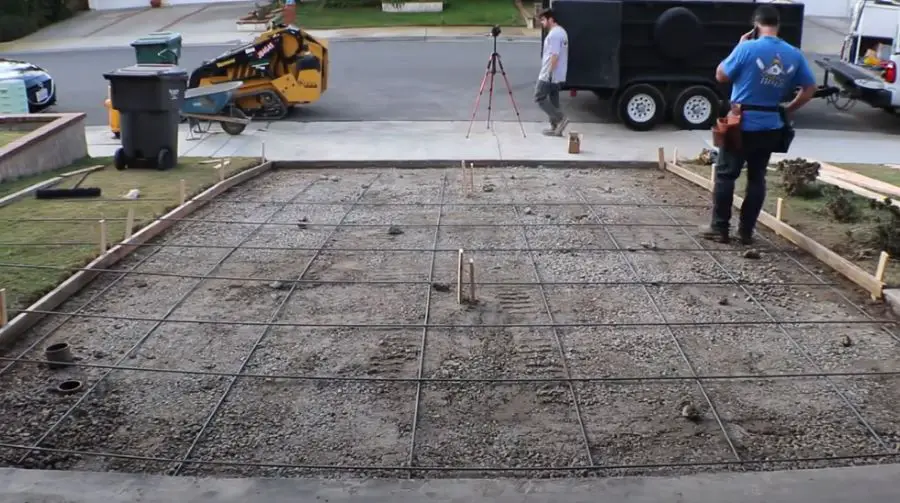
Wire mesh or rebar can be used to reinforce your concrete driveway slab, particularly if you have heavier vehicles or live in an area with freeze-thaw cycles.
To add reinforcement:
- For sheets of wire mesh, lay the sheets in the area to be poured, cutting them to fit inside the forms.
- For rebar, lay the bars in a 2' grid and tie the intersections together using wire ties
- Place the reinforcement on small bricks or metal chairs (slab bolsters) to ensure it is suspended in the center of the concrete slab when poured.
pouring a concrete driveway
Mixing and pouring concrete on an average concrete driveway requires attention to detail and proper technique.
I recommend a minimum concrete driveway thickness of 4" thick for residential homes, a 5" or 6" thick concrete driveway is better if you have heavy vehicles.
You'll also have to decide if you're going to use ready-mix concrete or use bagged concrete mix and mix it yourself.
Follow these steps for a successful pour:
- Calculate how much concrete you need based on the size and thickness of your driveway. Use my concrete calculator to help figure out your cubic yards of concrete.
- If you're using bags of plain concrete, mix the concrete according to the manufacturer's instructions, ensuring it reaches the correct consistency.
- Transport the mixed concrete to the driveway area using a wheelbarrow or a concrete mixer.
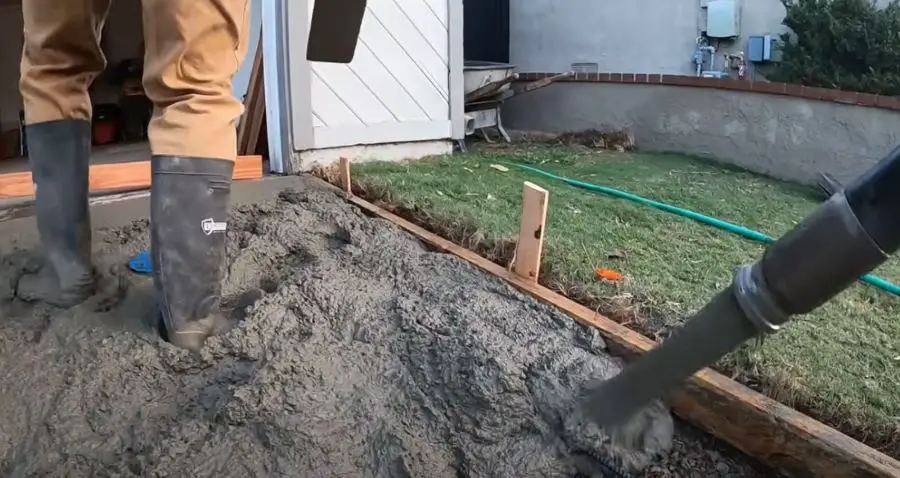
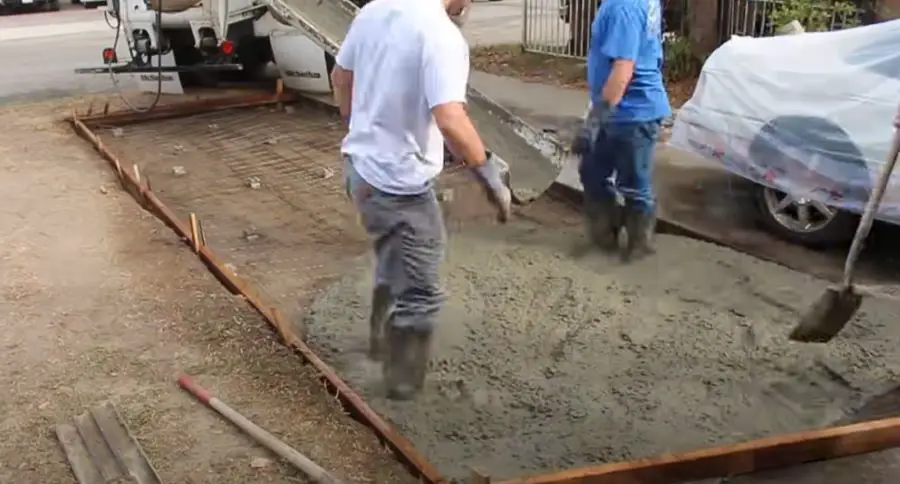
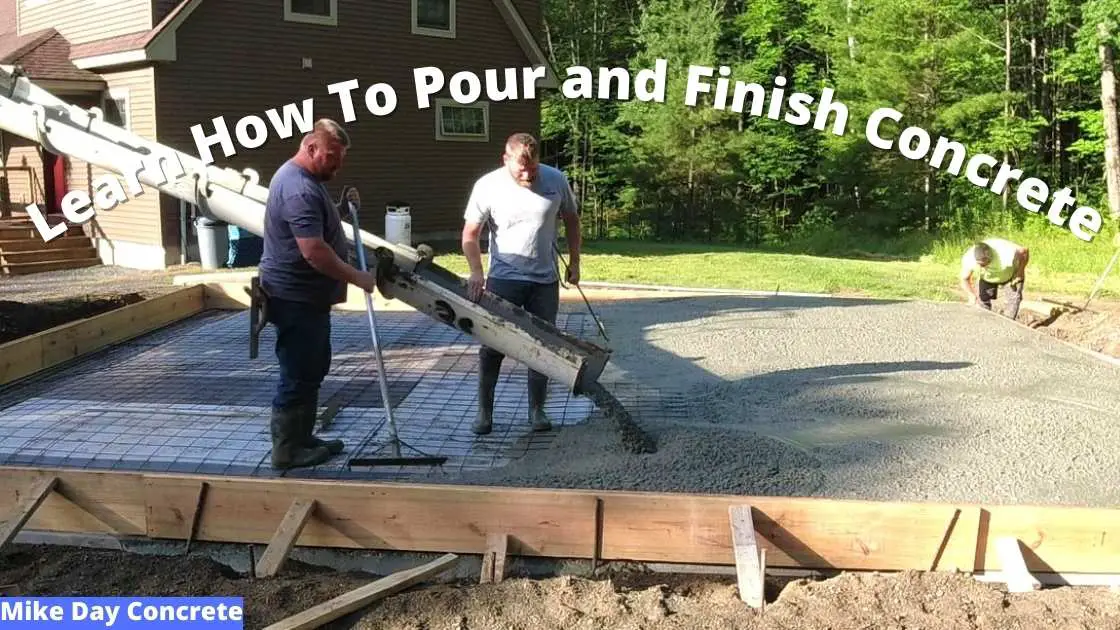
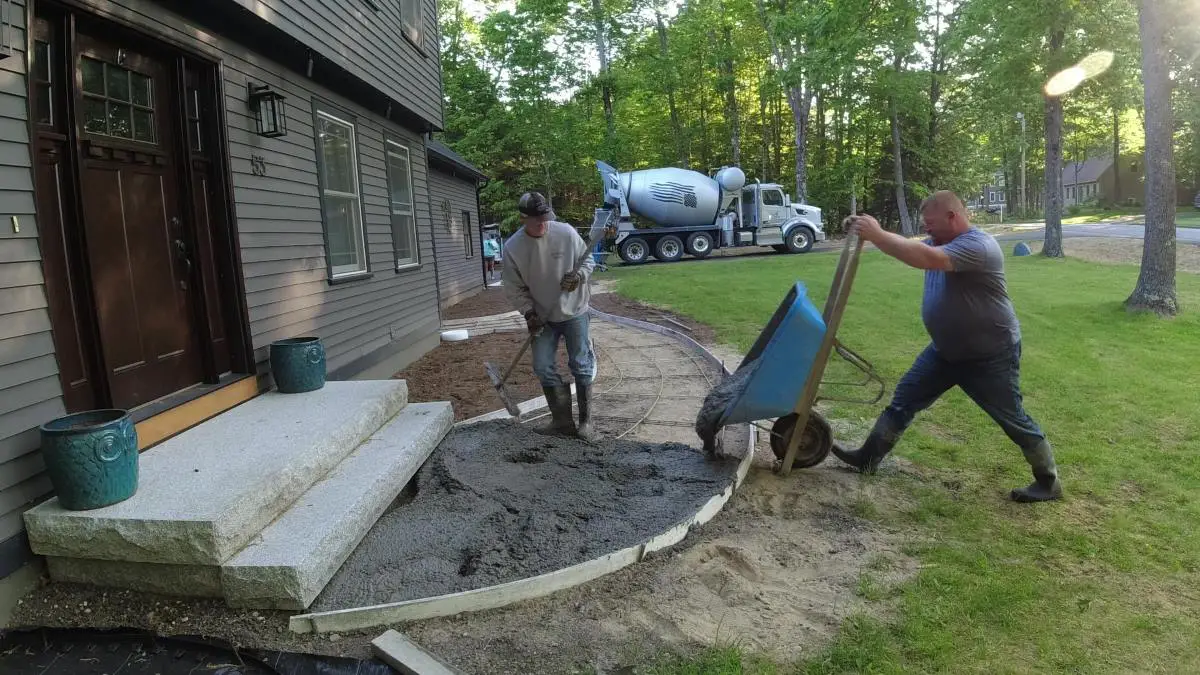
- If you use ready-mix concrete from a concrete plant, when the concrete arrives, pour the concrete right from the concrete truck's chutes or into a wheelbarrow to place the concrete where you need it.
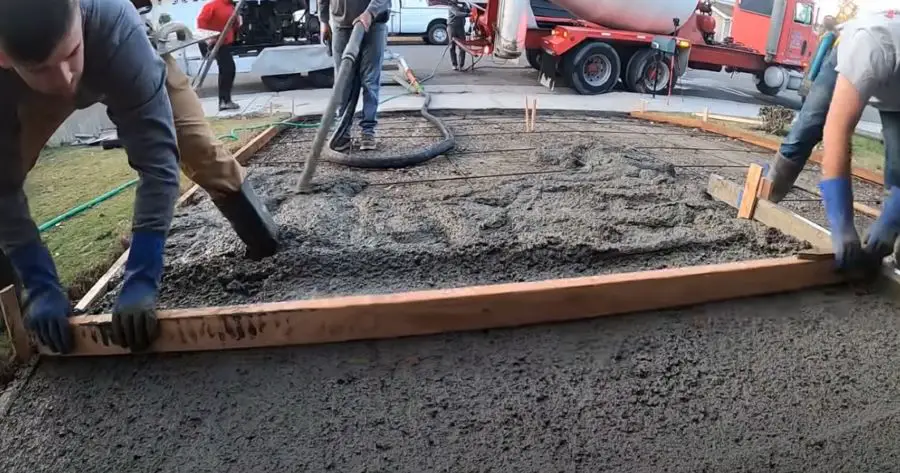
- Pour the concrete into the formwork, starting at one end and working your way toward the other. Be sure to pour evenly and consistently, filling the concrete even with the tops of your forms.
- As you pour, use a shovel or a concrete rake to spread the concrete evenly within the formwork. If you have a long driveway size, consider doing it in smaller sections unless
Level and screed the concrete
Leveling and screeding the concrete are critical steps in achieving a smooth and even driveway surface.
To do this:
- Use a straight-edged board (screed board) to level the concrete. Place the screed board across the top edges of the formwork and drag it along the surface in a sawing motion.
- As you screed the concrete, fill in any low spots with additional concrete and pull back any excess material using your shovel or concrete rake.
- Ensure that the surface is level and even, with the correct slope for drainage. Double-check your form height and slope using a Laser level while you pour concrete. This step has to be done right!
- Use a bull float to smooth the surface of the concrete. Glide the bull float over the surface in a back-and-forth motion, applying slight pressure to remove any imperfections.
finishing your concrete
Allow the concrete to set slightly (firm up a bit) this may take 1-2 hours, depending on weather conditions and the concrete mix used.
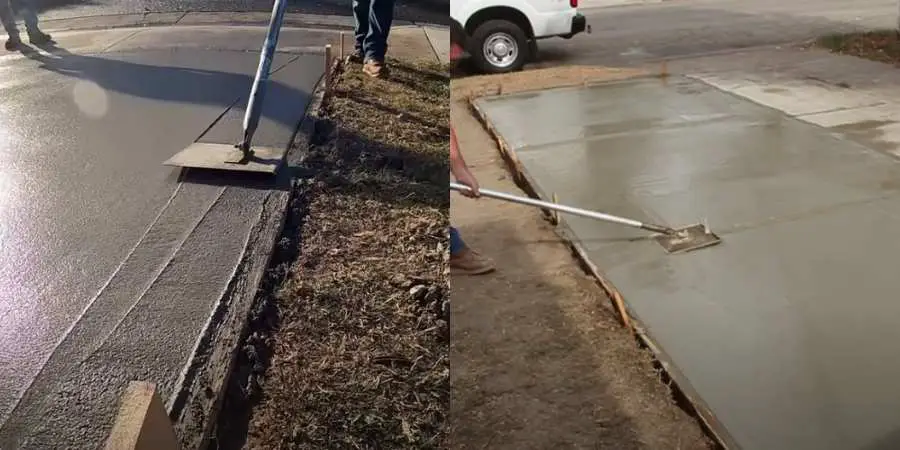
- Use an edging tool to shape and smooth the edges of the driveway. This will create a professional-looking finish and help prevent chipping or cracking.
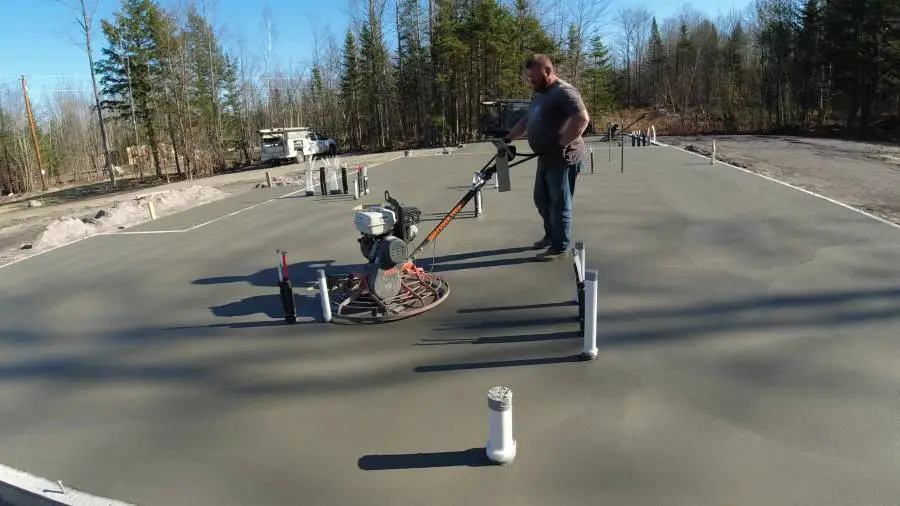
- Use a magnesium hand float to get a smoother surface and float out the bull float lines. Move the float back and forth on the concrete, creating a nice cement paste on the surface.
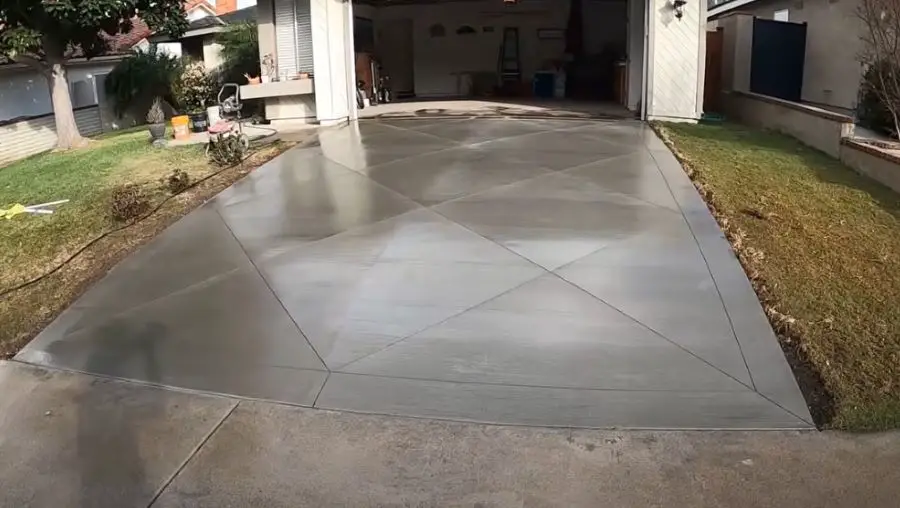
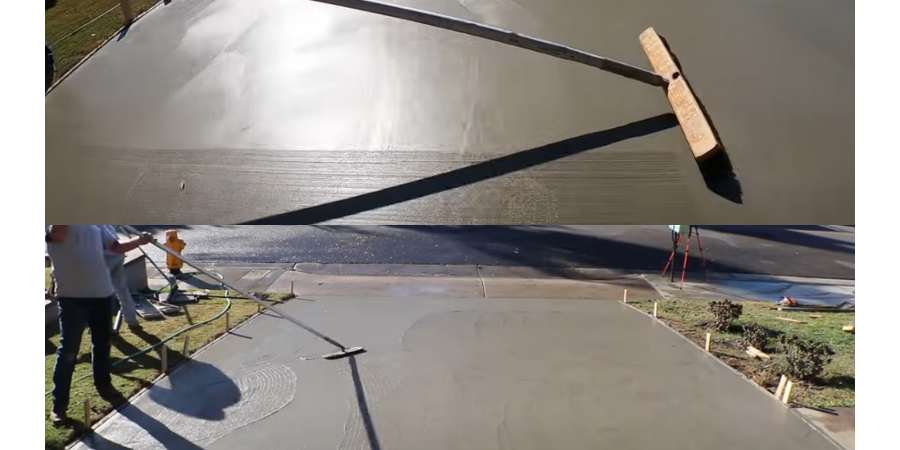
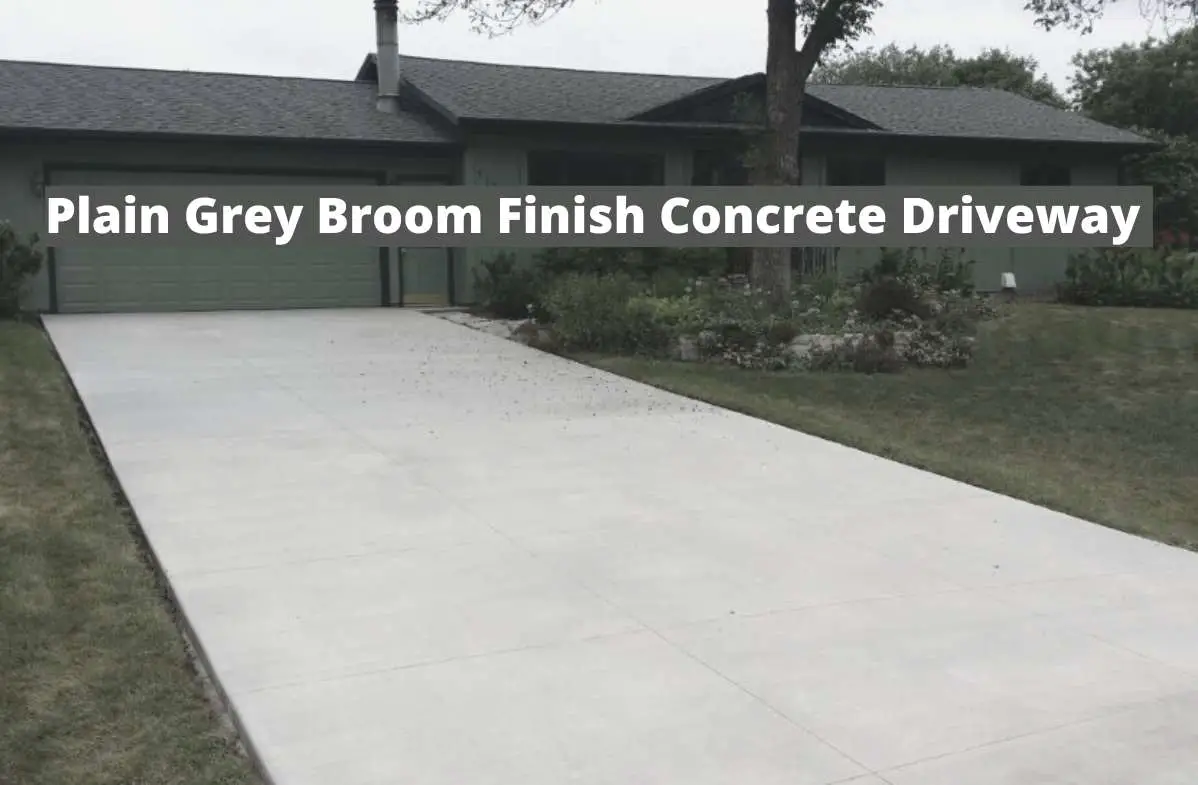
- If desired, apply a broom finish to the entire driveway surface for added traction. Gently drag a broom across the surface of the concrete in a consistent pattern, creating a non-slip texture finish.
- Cut control joints at regular intervals (typically every 8-12 feet or 2.5-3.5 meters) to allow for expansion and contraction of the concrete. These contraction joints help prevent cracking and ensure the longevity of your driveway's lifespan.
how to install expansion & contraction joints
If you're using a concrete groover or jointer to install these crack control joints, the concrete has to be quite soft still when you start.
It's also possible to use a concrete saw to install these joints and saw them the next day.
To cut control joints on larger concrete slabs and driveways, start by using a 1-inch deep jointer and a straight guide board. When working on a wide slab, use a board to kneel on so you can reach the middle easily.
The depth of the control joints should be one-quarter of the slab's total thickness. (1" for a 4" thick driveway)
The spacing between control joints should be approximately 1.5 times the width of the slab, but not more than 30 times the thickness of the driveway – for a 4-inch thick slab, this means a maximum of 10 feet apart.
If you're using concrete with 3/4-inch coarse aggregate, reduce the maximum spacing between control joints to 8 feet for a 4-inch slab. Ensure that the length of the jointed sections on a rectangular driveway is never more than 1.5 times their width.
Bonus Tip: To better prevent cracking, it's advisable to have more control joints rather than fewer.
curing and sealing concrete driveways
When you pour a concrete driveway you have to let it cure before using it. Curing is a critical step as it allows your newly poured driveway to reach its maximum strength and durability.
allow the concrete to cure:
To cure the concrete:
- Keep the surface of the concrete moist for at least 3-7 days. This can be done by misting the surface with water, covering it with wet burlap, or using a curing compound.
- Misting the surface is best done using a lawn sprinkler to keep the concrete wet.
- Or, carefully lay sheets of burlap on the surface and wet them with a garden hose.
- Instead of water, spray on a concrete curing compound made specifically for curing concrete.
- Avoid using the driveway during the curing process, as this can cause cracking or damage to the surface.
final sealing of your concrete driveway:
Sealing your concrete driveway will protect it from stains, weather, and wear and tear, ensuring it looks great and lasts for years to come.
To seal your driveway:
- Allow the concrete to cure for at least 28 days before applying a sealer.
- Clean the surface of the driveway, removing any dirt, debris, or stains.
- Choose a high-quality concrete sealer suitable for concrete driveways and follow the manufacturer's instructions for application.
- Allow the sealer to dry completely before using your new driveway.
why you should do regular maintenance
A new DIY concrete driveway can significantly enhance the curb appeal and home value of your property. However, it's essential to perform regular maintenance to keep your driveway looking great and functioning well for years to come.
One key aspect of maintaining a concrete driveway is regular cleaning. Over time, dirt, grime, and stains can accumulate on the surface, making your plain gray concrete appear dull and unattractive.
To restore the look of your driveway, it's a good idea to pressure wash it at least once or twice a year. When using a pressure washer, be sure to use the appropriate nozzle and pressure settings to avoid damaging the concrete surface.
what does a concrete driveway cost?
The cost of installing a 4-inch thick concrete driveway can vary significantly depending on factors such as location, size of the project, and the complexity of the job.
However, I can provide a rough breakdown of the costs involved in each stage of the process. Keep in mind that these figures are estimates and can differ based on your specific situation.
- Existing driveway removal: The cost of removing an existing driveway can range from $1 to $5 per square foot, depending on the material (asphalt, concrete, or gravel) and the ease of removal. The total cost for this stage can vary based on factors such as access to the area, the size of the driveway, and local disposal fees.
- New gravel sub-base preparation: Preparing the ground for your new concrete driveway typically involves excavating the area, grading for proper drainage, and installing a gravel sub-base. The cost for this stage can range from $1 to $3 per square foot, depending on factors such as the depth of excavation, the quality of the gravel, and the need for additional drainage solutions.
- Average concrete driveway costs: The cost of pouring a 4-inch thick concrete driveway with a broom finish can range from $5 to $10 per square foot, depending on factors such as the quality of the concrete, reinforcement materials used (if any), and the complexity of the installation. (this is usually about double the average asphalt driveway cost)
- Additional costs: Some other factors that can influence the overall cost of your driveway project include, permits and inspections (if required), any necessary utility relocation or repairs, and the installation of features such as curbs, retaining walls, or drainage solutions.
Taking all of these factors into account, the final cost for a 4-inch thick concrete driveway installation can range from $6 to $18 per square foot, or more depending on your specific needs and location.
can i pour my own concrete driveway?
Yes, you can pour your own concrete driveway as a DIY project. However, it requires proper planning, preparation, and the right tools and materials.
Pouring a concrete driveway involves several steps, such as excavating and preparing the site, creating a gravel base, building formwork, mixing and pouring the concrete, leveling and finishing the surface, and allowing it to cure.
With this step-by-step guide, preparation, and a willingness to invest time and effort, a homeowner can successfully pour their own concrete driveway.
However, for a more complex concrete driveway installation, or for those with limited experience, it may be wise to consult or hire a professional contractor.
in conclusion:
Building a DIY concrete driveway can be a rewarding and cost-effective project, adding value and functionality to your property.
By following the steps outlined in this guide, you can ensure a successful driveway concreting experience and create a durable and attractive surface that will last for years to come.
Whether you're looking to pave a concrete driveway, lay a concrete driveway, or install a concrete driveway, this comprehensive guide has you covered.
So, gather your tools, roll up your sleeves, and get ready to create a beautiful concrete driveway that you can be proud of.
Learn more about what a diy concrete driveway cost.
