how to pour and finish a concrete patio slab
The steps it takes to build, pour, and finish a concrete patio slab are:
- Prepare the sub-grade
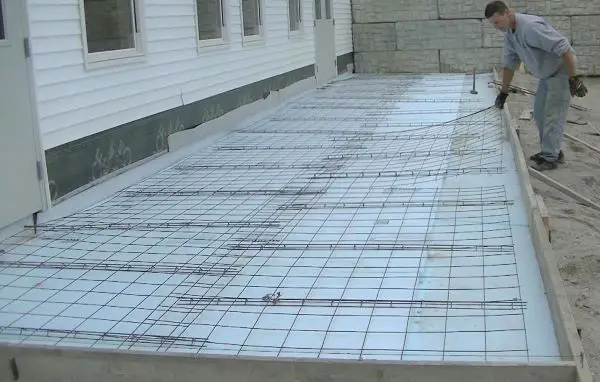
- Install the forms and reinforcement
- Pour and level the concrete
- Finish the concrete
- Seal the concrete
prepare the sub-grade for concrete
The sub-base under your concrete patio wants to be either gravel, road base, sand, or crushed rock.
You'll want to remove any sod, grass, clay, or dirt. How much you remove and replace with gravel will depend on where you live and how many freeze/thaw days you get during the winter months.
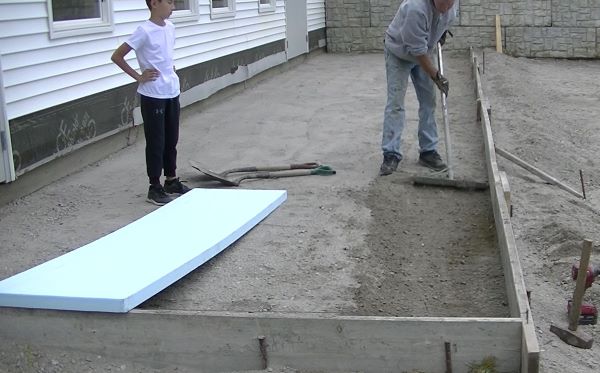
If you live where you get some to many freezing days, then more gravel is recommended under your concrete patio. A good base would have 12" to 24" of compacted gravel under the concrete.
If you live where you don't get many temperatures below freezing then 4" to 12" of sub-base gravel would suffice.
If you have wet conditions, then more gravel and adding drainage would be recommended in that case.
To help keep frost from getting under the patio, you can install 2" styrofoam under the slab. This will insulate the sub-base and keep it from freezing.
install the forms and reinforcemenet
The thickness of your patio slab will determine what you use for forming material. Most likely your patio slab will be 4" thick. That's quite common for a patio slab.
IF that's the case, you can use either 2x4's or 2x6's to form your concrete patio. The size and shape of your patio will be determined by you and your space or area you have to install the patio.
Setting up forms is fairly simple. Here is more information about forming that will help you.
For reinforcement, you can use wire mesh or rebar. Both are good and will help reinforce the concrete if it does end up cracking.
how to pour and level the concrete
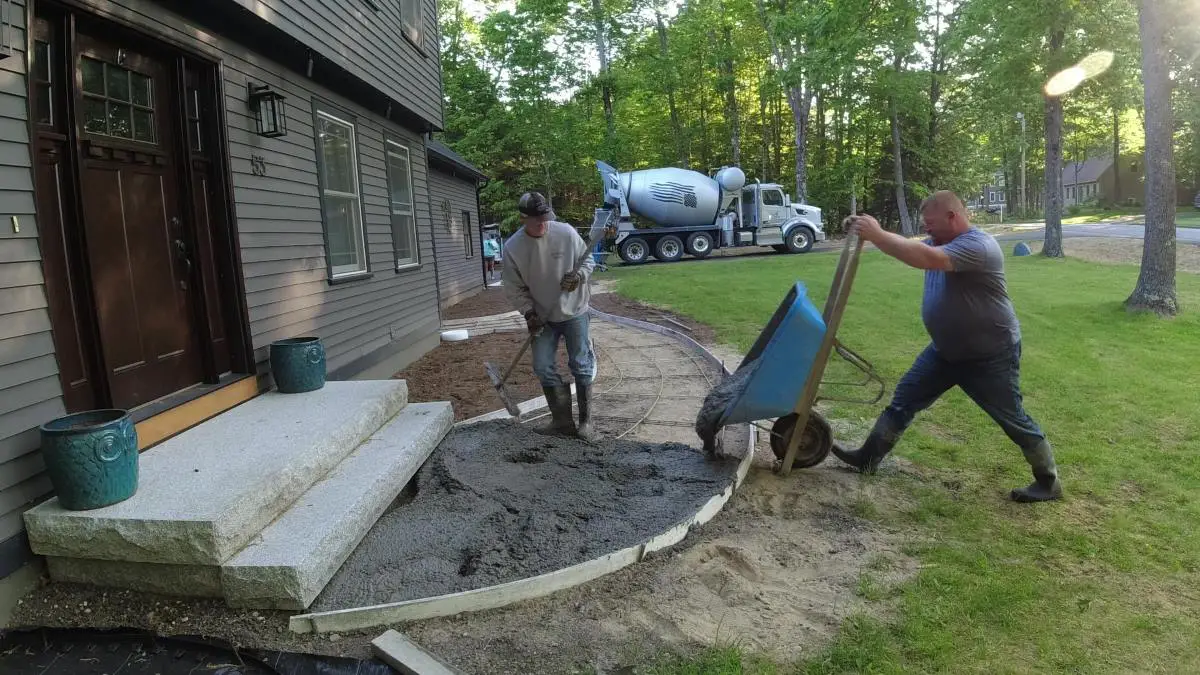
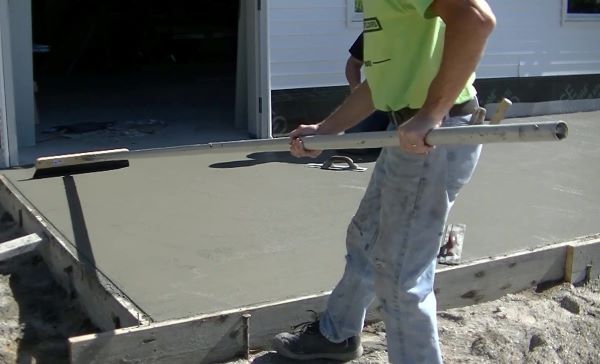
Pouring the concrete for your patio slab and getting it leveled out is something you might want to hire a professional for.
If your patio slab isn't very big, then maybe it's something you can do on your own.
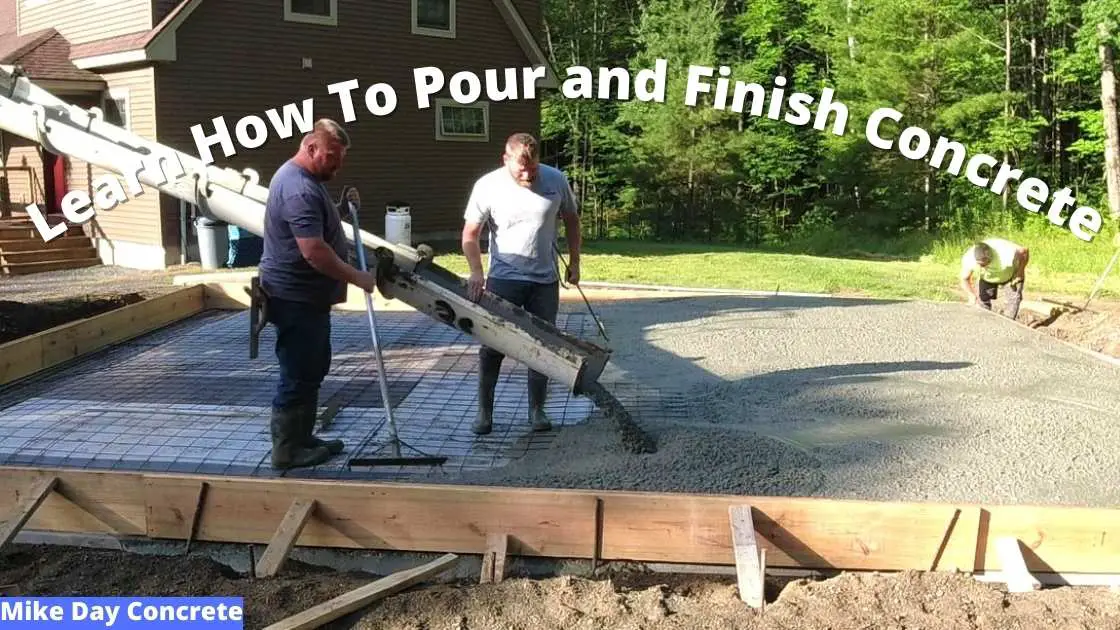
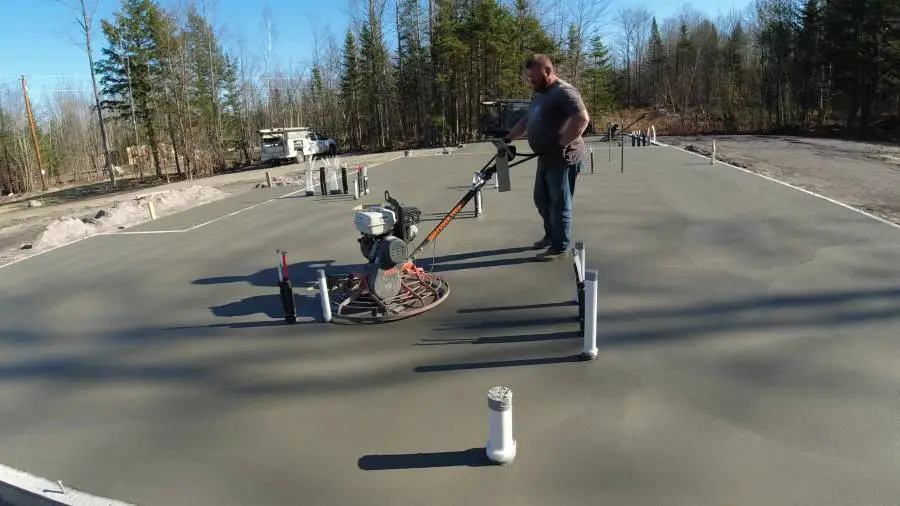
Watch us pour this 50' x 10' concrete patio and see if it's something you want to try or not.
To learn how to pour and finish concrete like we do in the video above, check out my training academy The Concrete Underground.
In The Concrete Underground I have many of my best training videos to teach you how to pour and finish concrete just like we do it.
how to broom finish and seal the concrete
Knowing how and when to start the finishing process is one of the hardest things to learn about concrete finishing.
In the video below, I will show you how we start the finishing process and apply a broom finish to the concrete.
The finishing is always determined by how fast of slow the concrete sets up. I'll show you the best time to start finishing in the video below for best results.
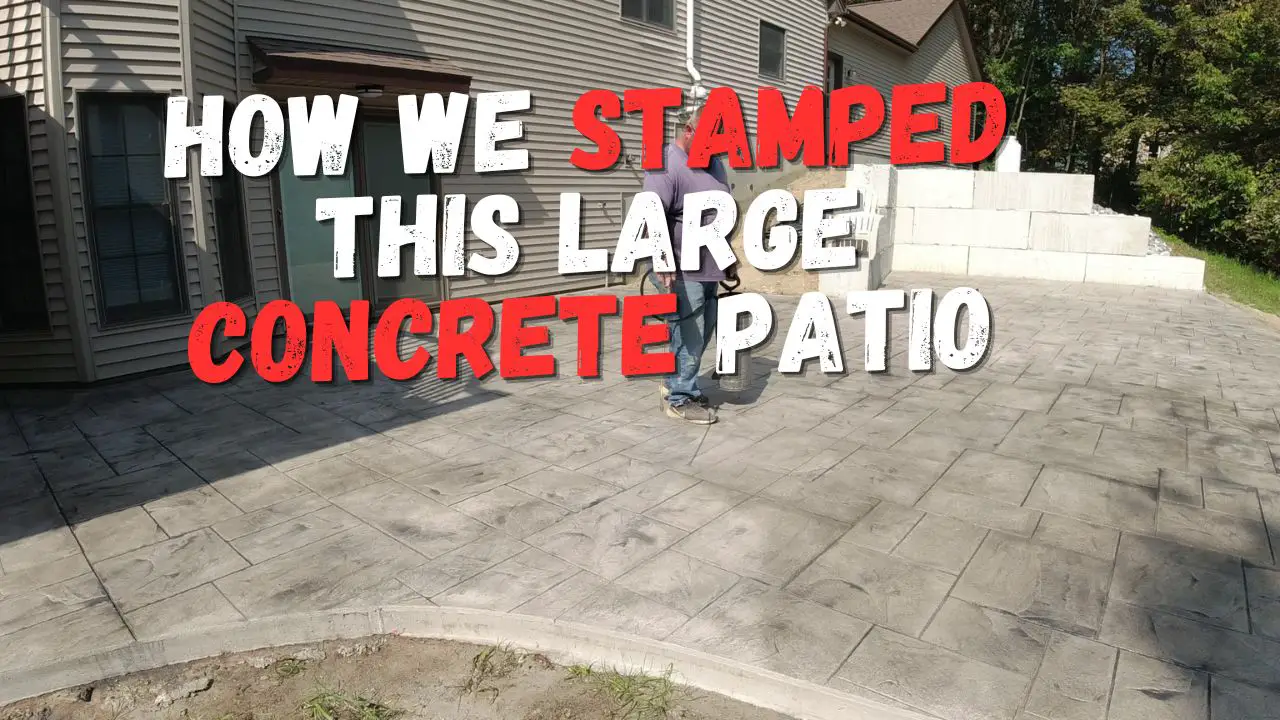
I used a penetrating sealer to seal the concrete with in the video. This type of sealer will not leave a slippery film on the surface but will seal and protect your concrete.
It's best applied with some type of sprayer. We're using a power sprayer in the video but you can use a simple garden pump up style sprayer if you like.
tools you'll need to build a concrete patio slab
I've made a list of all the tools you'll need to build your concrete patio slab.
Most of these you can get at your local hardware store or even easier, you can order them right from Amazon.
Concrete tools list for building a patio slab.
IN CONCLUSION:
I built this page to help you decide if you want to pour your own concrete patio or not.
If you kind of handy and like building and doing things on your own, then maybe it's something you can tackle by yourself after watching my videos.
If the size of your patio slab isn't too large, maybe you can do it yourself with the information I've given you on this page.
If you have any doubts or questions, then look to hire a pro like me. We do this kind of work every day.
Go to Home Page
Go to Concrete Patios
